Data Science Using CARC OnDemand
The CARC OnDemand service is an online access point that provides users with web access to their CARC /home, /project2, and /scratch directories and to the Discovery and Endeavour HPC clusters. OnDemand offers:
- Easy file management
- Command line shell access
- Slurm job management
- Access to interactive applications, including Jupyter notebooks and RStudio Server
OnDemand is available to all CARC users. To access OnDemand, you must belong to an active project in the CARC user portal.
CARC OnDemand will only be accessible via a connection to either USC’s Secure network or a USC VPN. Instructions for setting up a VPN connection can be found at the following links:
We recommend using OnDemand in a private browser to avoid potential permissions issues related to your browser’s cache. If you’re using a private browser and still encounter permissions issues, please submit a help ticket.
1 Interactive Apps JupyterLab
The JupyterLab interactive session of CARC OnDemand offers researchers the resources to prototype their code using Jupyter notebooks and is useful for data science applications.
To start an interactive session in OnDemand, select the JupyterLab app from the Interactive App dropdown menu at the top of the OnDemand dashboard.

Once you select an application, the session creation page appears.

Customize your interactive session using the following form fields:
Cluster: Select either the general-use Discovery cluster or the Endeavour condo cluster. You must belong to a project with access to the Endeavour cluster in order to select this cluster; otherwise, you will receive an
sbatcherror (Invalid account or account/partition combination specified).Account: The project account to charge resources to. The dropdown should contain all projects you are a member of, and they will be of the form <PI_name>_<project_ID>.
Partition: The cluster partition to submit the job to. See the Discovery Resource Overview for more information on the different partitions on Discovery. Depending on the partition you choose, you may not see all of the form fields in this list.
Number of CPUs: Number of CPU cores to allocate for your session. The maximum number of cores available depends on the partition selected above.
Memory (GB): Amount of memory to allocate. If left blank, a default of 2 GB of memory per CPU core will be allocated.
GPU Type (optional): Type of GPU you wish to use. This field is optional and will only be displayed for partitions that have GPU resources. Available GPU types also depend on the partition selected above.
Number of GPUs (optional): Number of GPUs to allocate. Maximum of 2. This field is optional and will only be displayed for partitions that have GPU resources. When this field is left empty, Slurm defaults will be applied.
Number of hours: Amount of time to allocate to your session. Maximum number of hours varies depending on cluster and partition selected. When the time allocated runs out, your session will end.
Constraint: Node features to request (currently, CPU model).
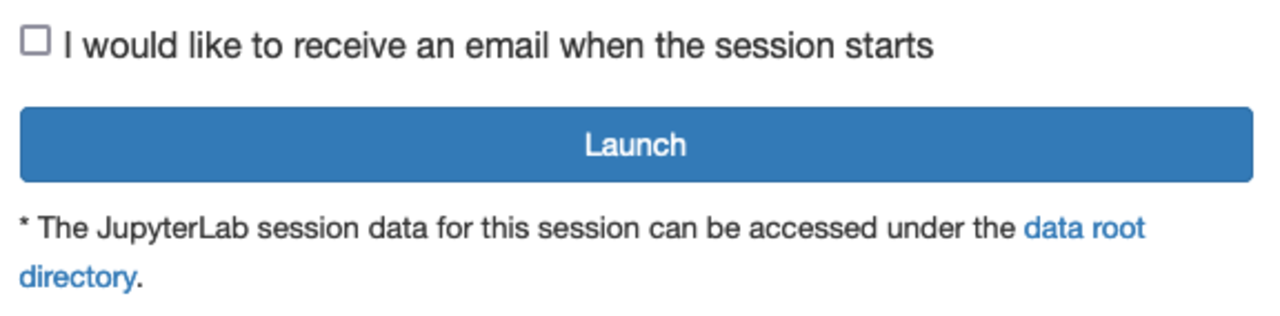
If you would like to receive an email notification when your session starts, check the corresponding checkbox at the end of the form. Otherwise, click Launch to launch your session:
This schedules your session in the Slurm queue. You will be taken to the My Interactive Sessions page, where your session status will update while it is queued or starting.
When your session is ready to use, you will see it highlighted in green with a status of “Running”:

Click Connect to Jupyter to open your session in a new browser tab.
1.1 Managing your interactive sessions
View all of your OnDemand interactive sessions by selecting My Interactive Sessions in the main OnDemand menu. Each session will include the following information:
- Host: Clicking the host will open a shell with access to the node that your session is running on.
- Created at: The date and time the session was created.
- Time Remaining: The time remaining for your session, based on the number of hours you specified when creating the session.
- Session ID: Clicking the session ID will open the file directory for the session, which contains configuration files, logs, and scripts for your app session.
If you no longer need an interactive session, you can delete it using the red Delete button.
More details for using OpenOnDemand such as managing files, composing jobs, and shell access can be found at CARC OnDemand Overview user guide.
2 Installing Jupyter kernels
The default python environment of Jupyter Notebook in Open OnDemand only has basic functions and packages. In order to link the Jupyter Notebook to your customized python programming environment, Jupyter kernels need to be installed. The following section provides instructions for installing Jupyter kernels when using Jupyter Notebooks in CARC OnDemand.
A Jupyter kernel is a programming language-specific process that executes the code contained in a Jupyter notebook. The following provides installation instructions for a few popular Jupyter kernels, which will be installed in your home directory at ~/.local/share/jupyter/kernels. Install the kernels when logged in to CARC systems before accessing them via the JupyterLab OnDemand interactive app. To learn more about installing software on CARC systems using the software module system, see the Software Module System user guide.
When installing kernels, make sure to use descriptive names in order to distinguish among them. Once installed, when launching Jupyter on OnDemand, the kernels will show up on a Launcher tab (File > New Launcher) and when selecting kernels through other methods.
Many software kernels are available for use with Jupyter. See a full list here: https://github.com/jupyter/jupyter/wiki/Jupyter-kernels.
3 Python
The default kernel is for Python 3.9.2, and this is ready to be used when Jupyter is launched. To use other versions of Python, enter a set of commands like the following:
module load python/3.7.6
python -m ipykernel install --user --name py376 --display-name "Python 3.7.6"
Make sure to use a descriptive name.
The kernels will be able to access your user-installed Python packages.
4 Conda
To use a Python kernel from a Conda environment, install the ipykernel package in the Conda environment and then create a kernel. For example, with a Conda environment named myenv, enter a set of commands like the following to create a Python kernel:
module purge
conda activate myenv
conda install -c conda-forge ipykernel
python -m ipykernel install --user --name myenv --display-name "My env"
Make sure to use a descriptive name.