Access Your VM's GUI using Windows Remote Desktop
Table of Contents
- 1 1. Copy the IP address of your VM
- 2 2. Open the Windows Remote Desktop app on your PC. Select Add PC
- 3 3. Enter the IP address as the PC name. Select Add to accept the changes
- 4 4. The VM now appears on your list of PCs. Select the VM to connect to it
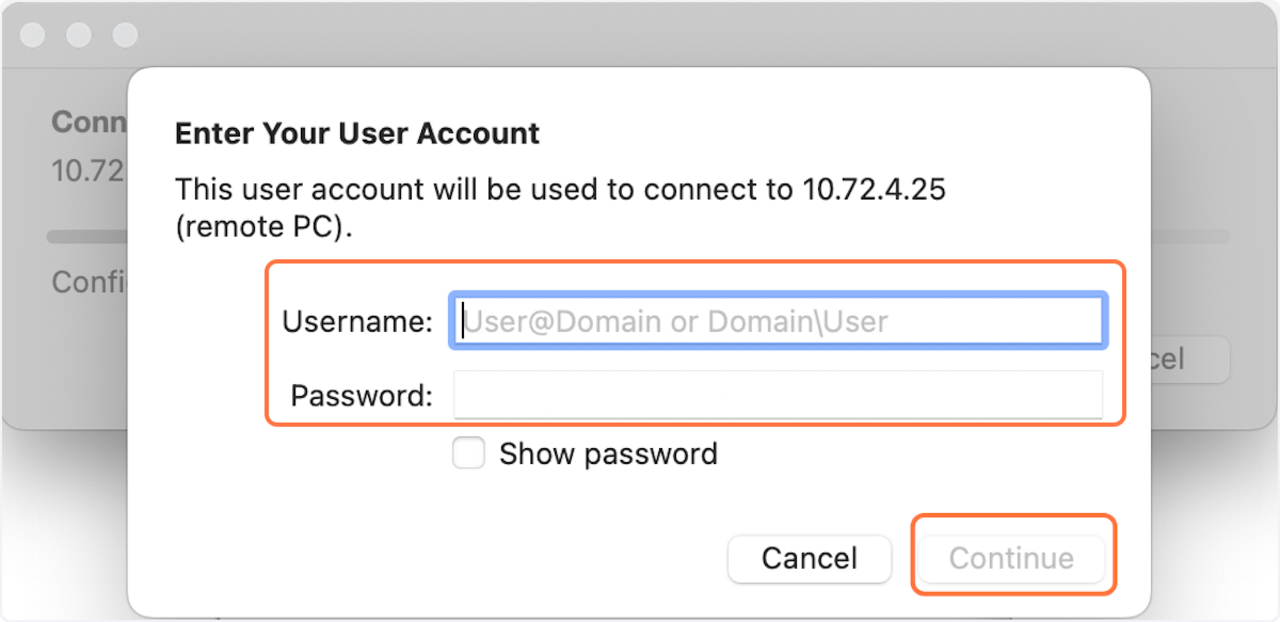
- 5 5. Enter your USC NetID and password
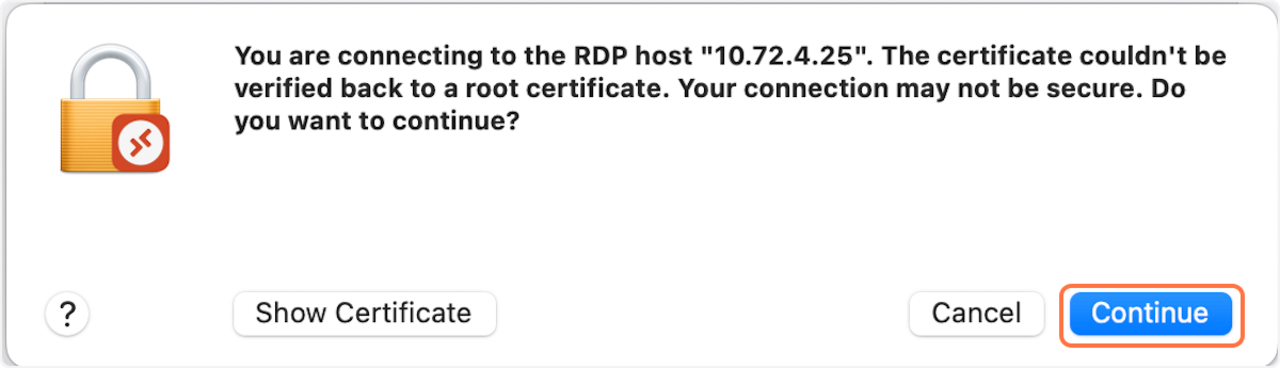
- 6 6. Accept the security warning by selecting Continue
- 7 7. You are now connected to your VM from your PC
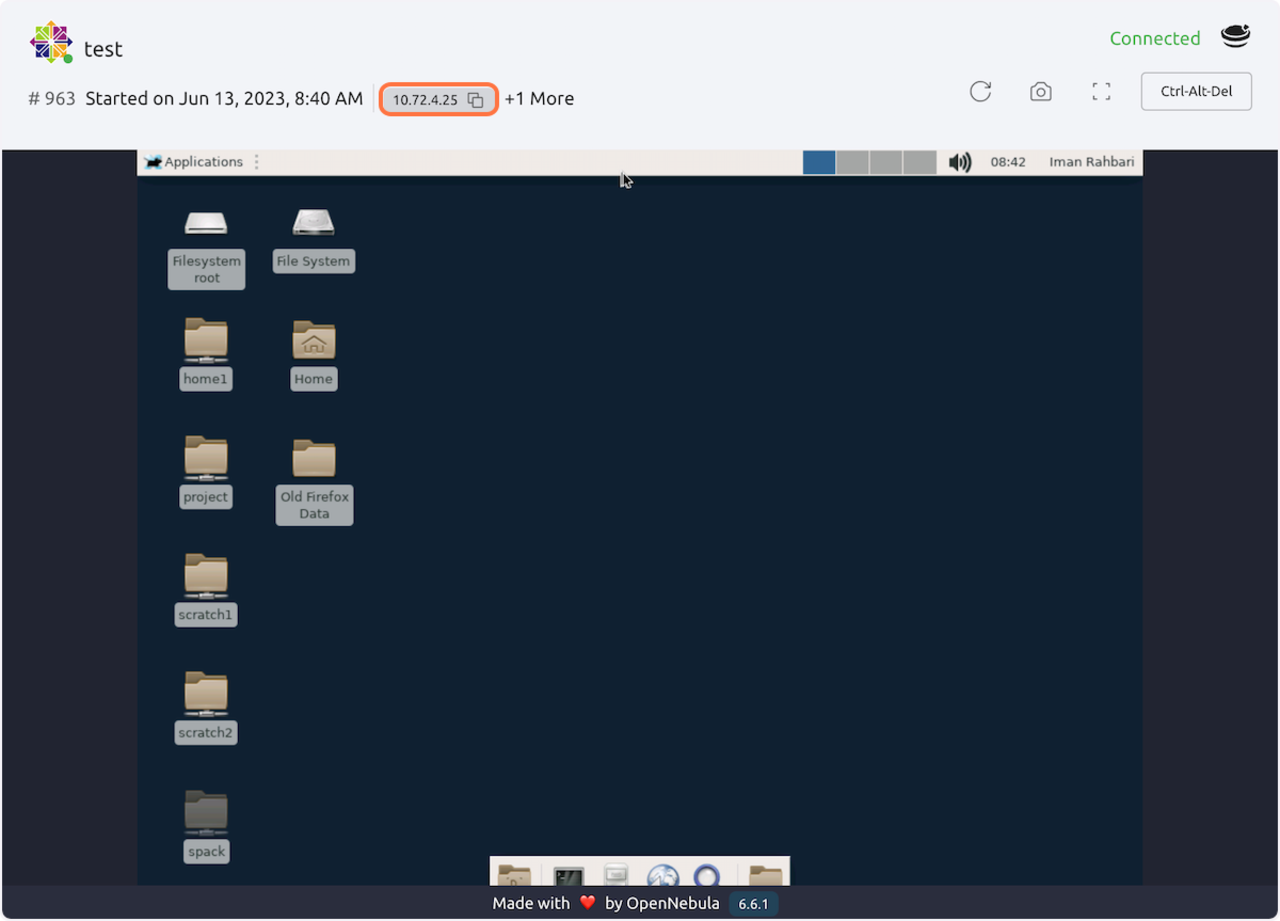
1 1. Copy the IP address of your VM
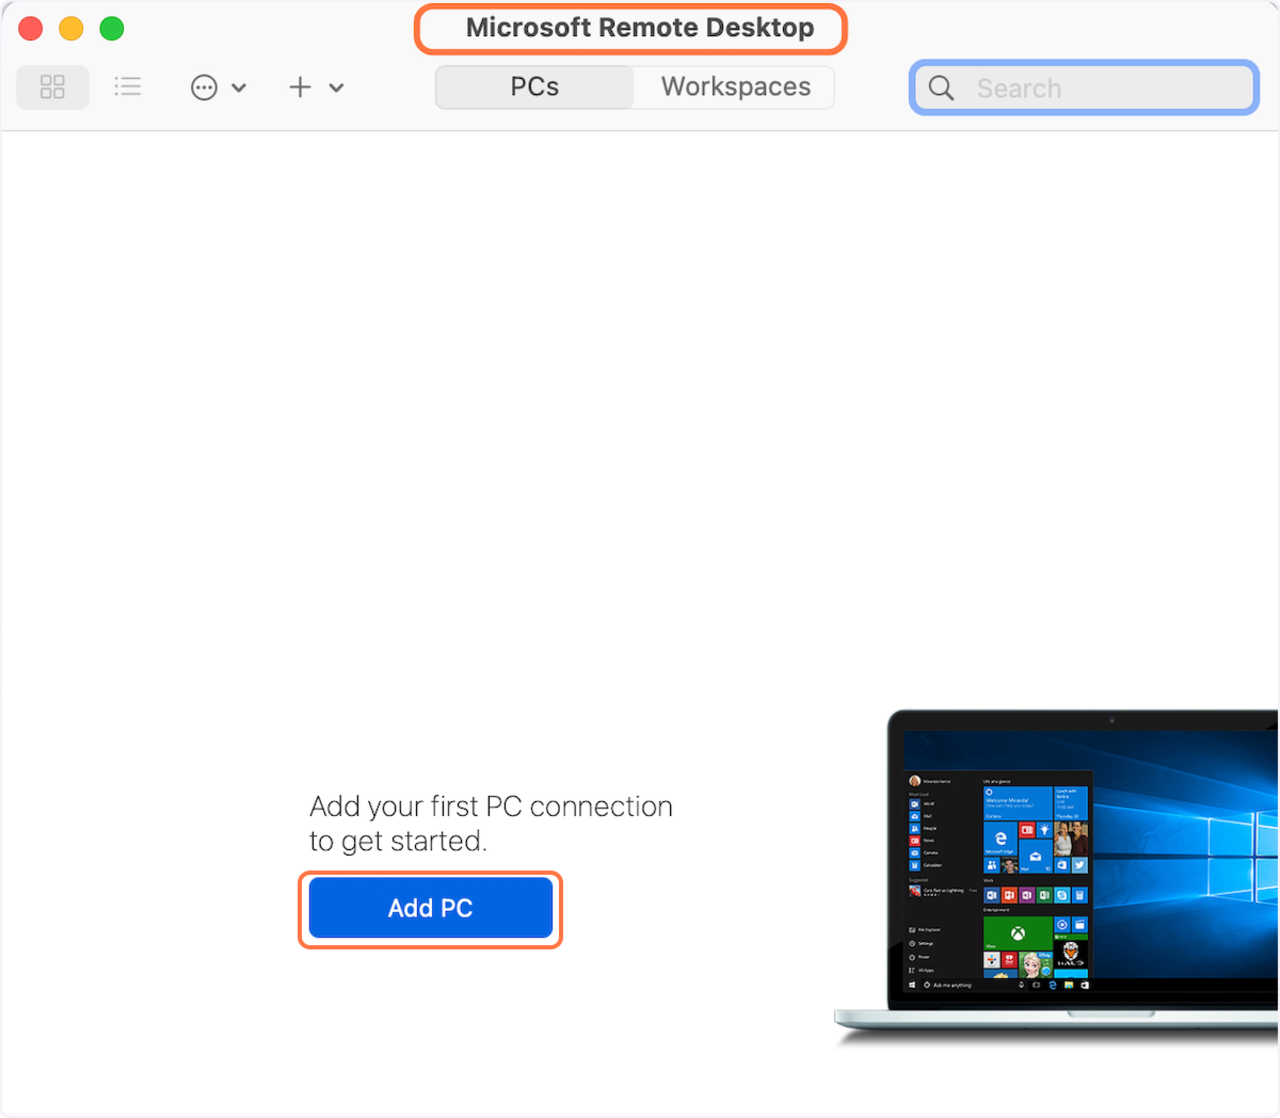
2 2. Open the Windows Remote Desktop app on your PC. Select Add PC
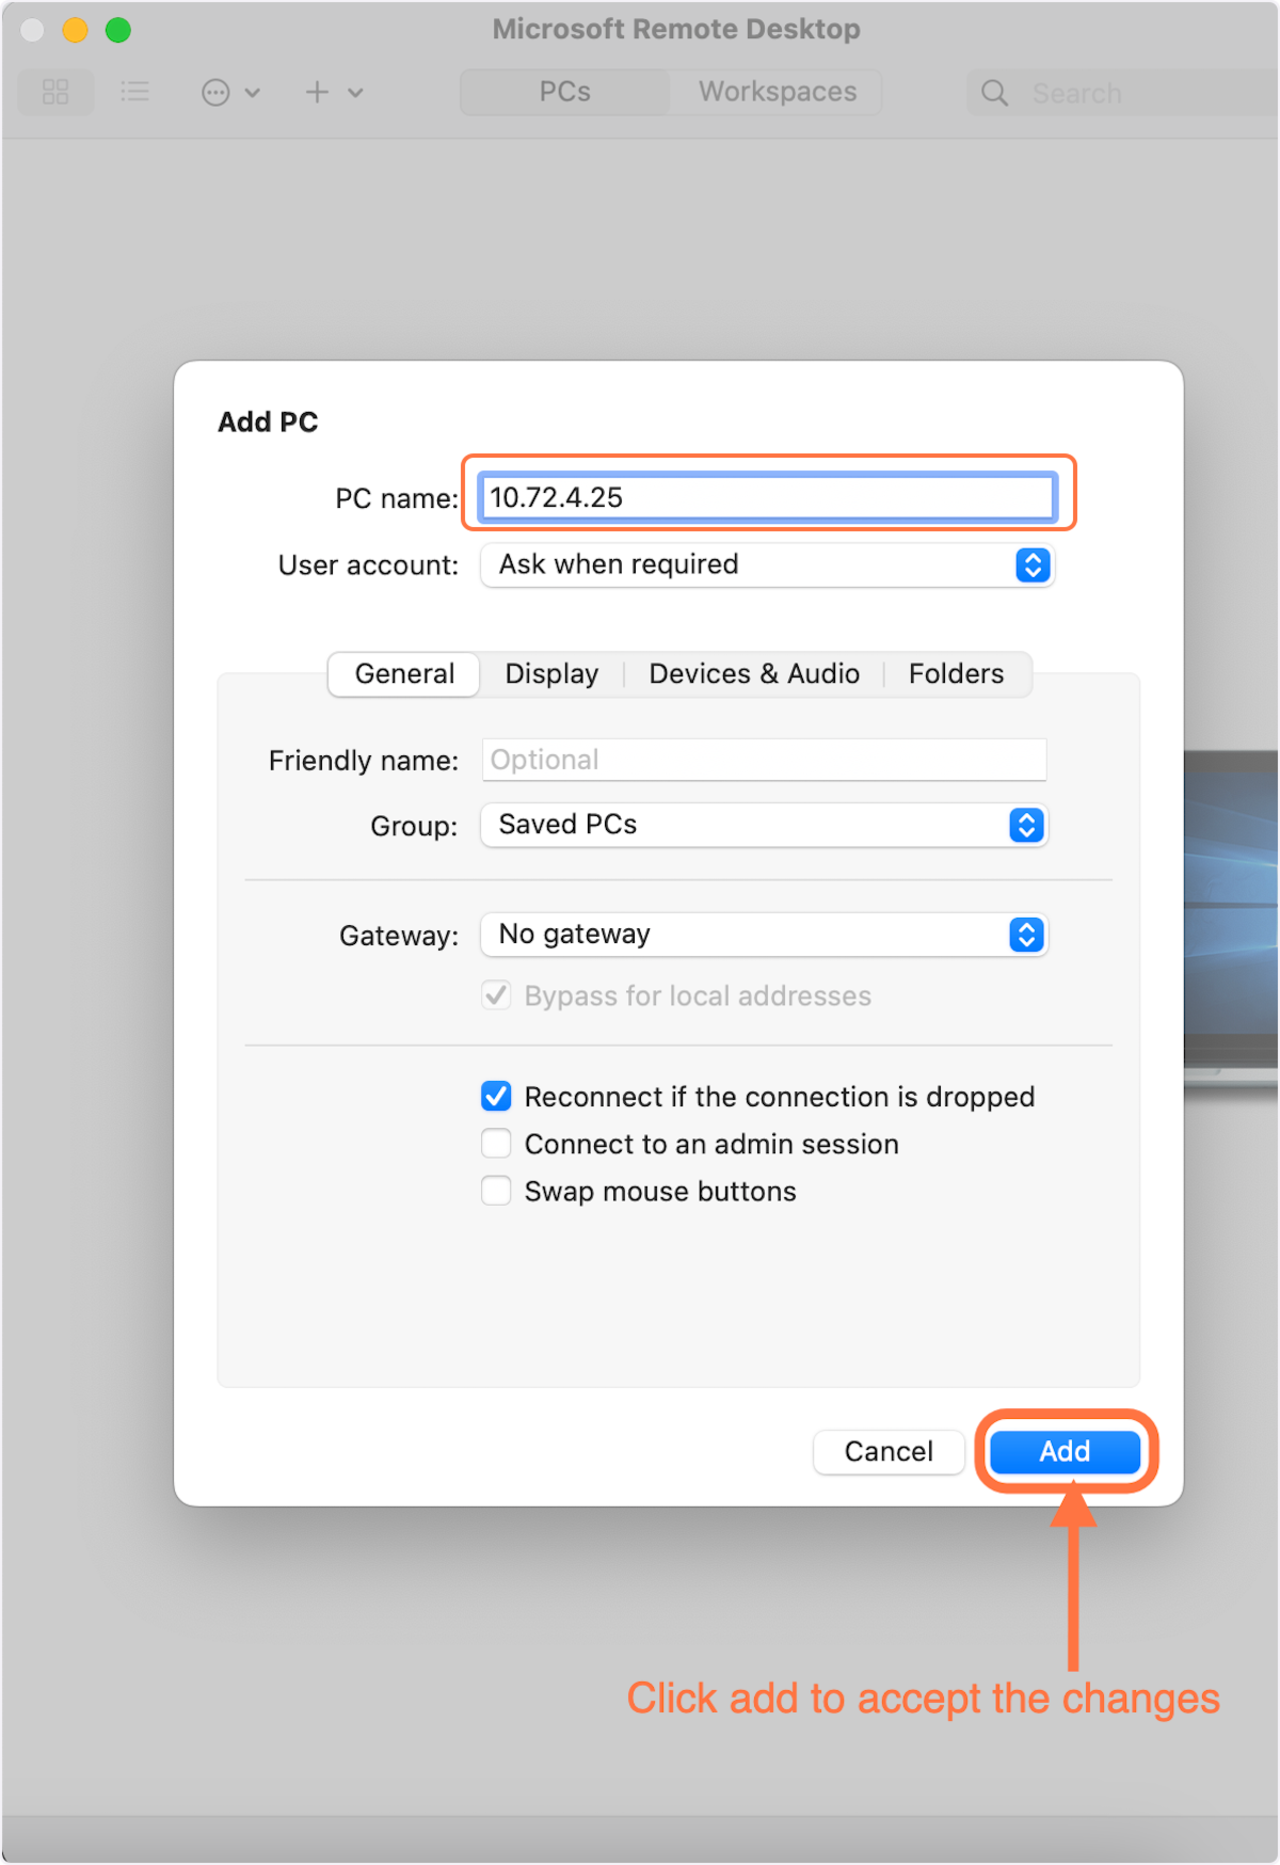
3 3. Enter the IP address as the PC name. Select Add to accept the changes
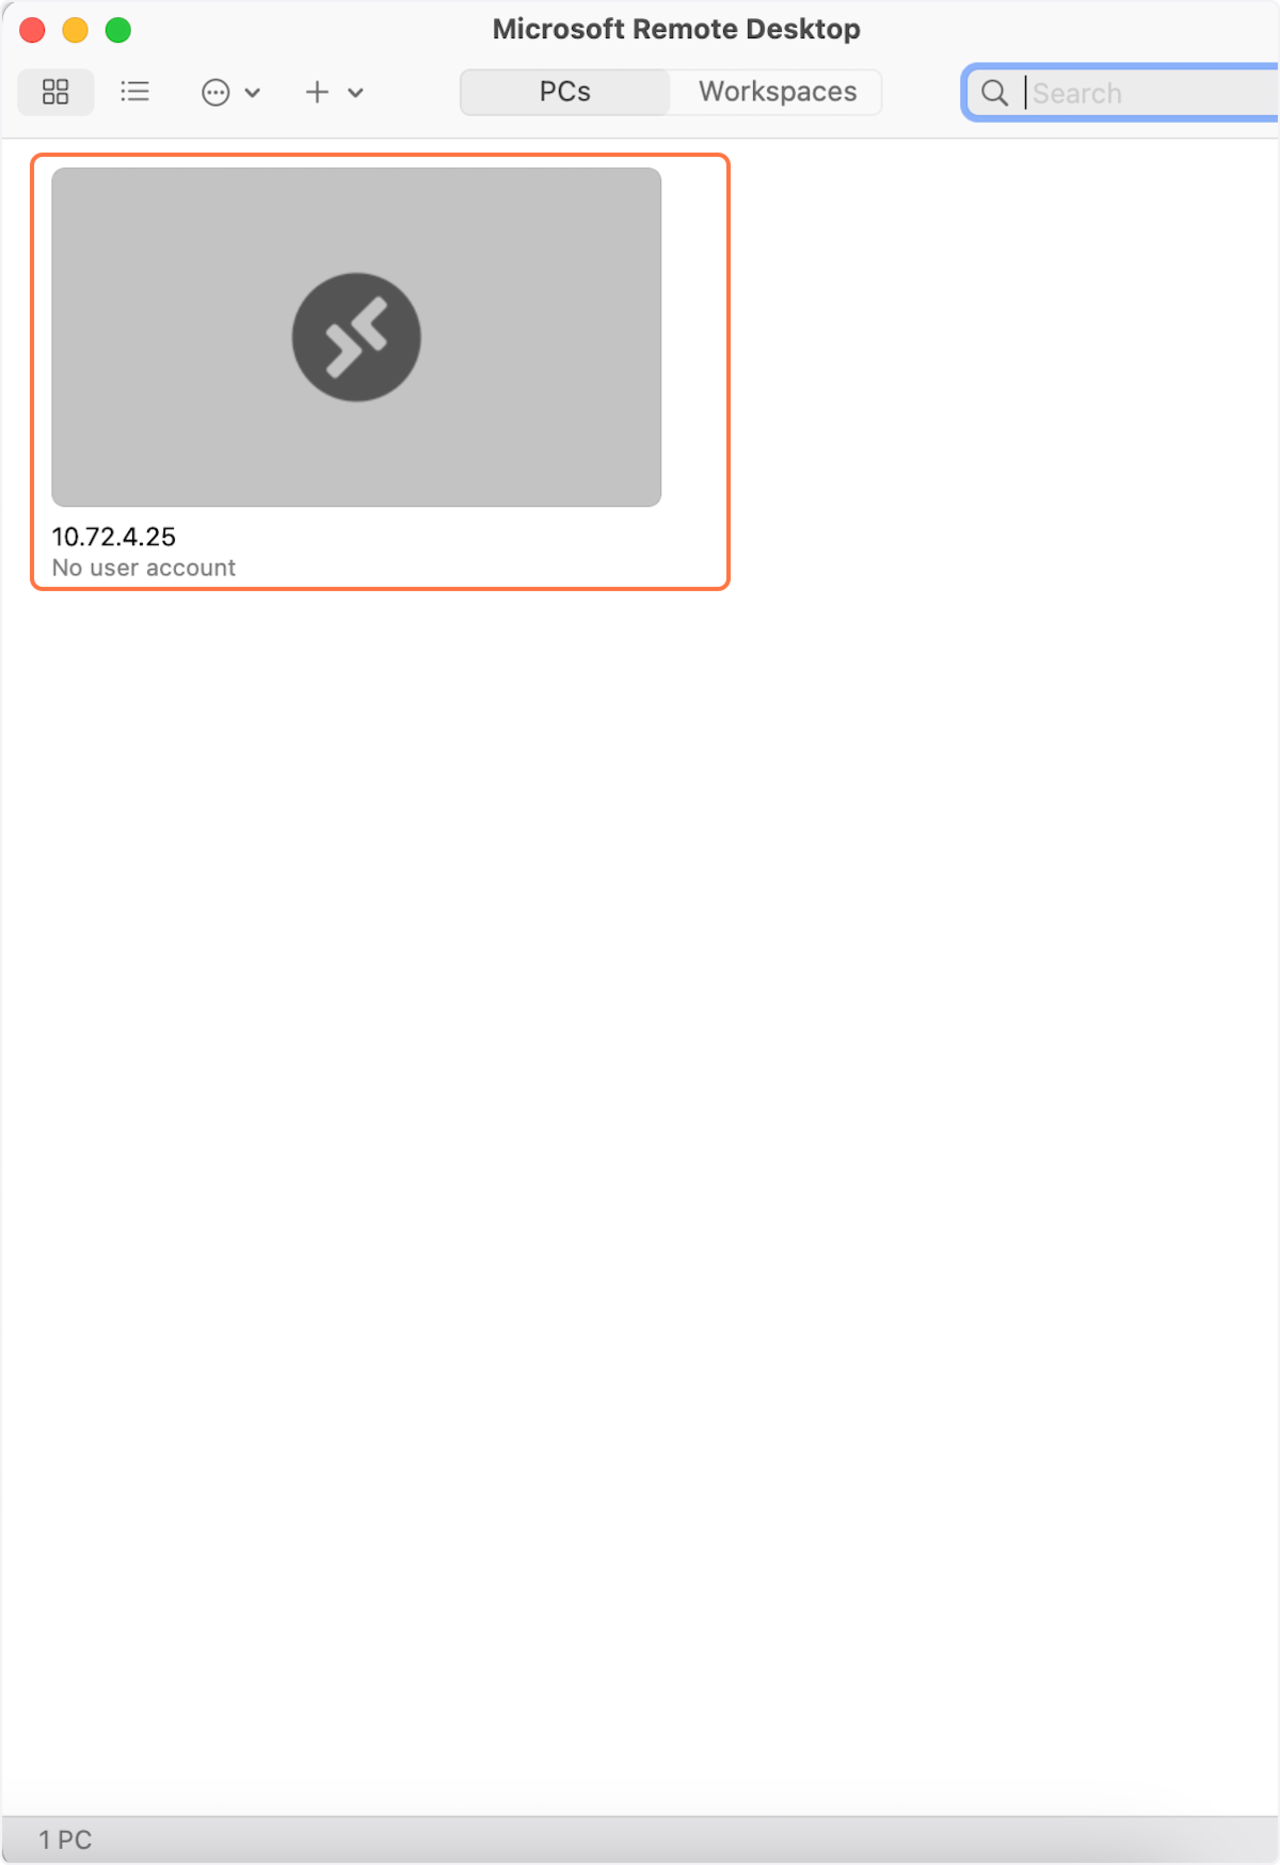
4 4. The VM now appears on your list of PCs. Select the VM to connect to it
5 5. Enter your USC NetID and password
6 6. Accept the security warning by selecting Continue
7 7. You are now connected to your VM from your PC
Users have access to the /home1, /scratch1, /project, and /project2 directories in their VMs. Additionally, /scratchlocal is available for fast local storage.
