Create a VM
Table of Contents
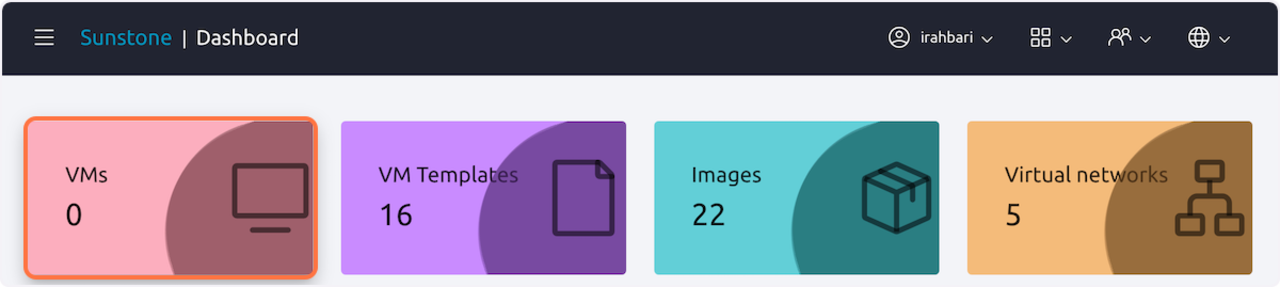
- 1 1. On the Artemis dashboard, select VMs
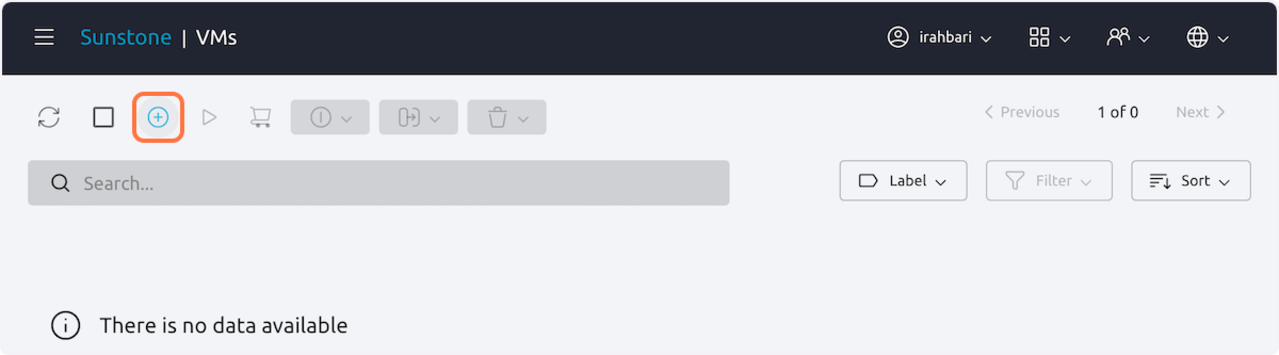
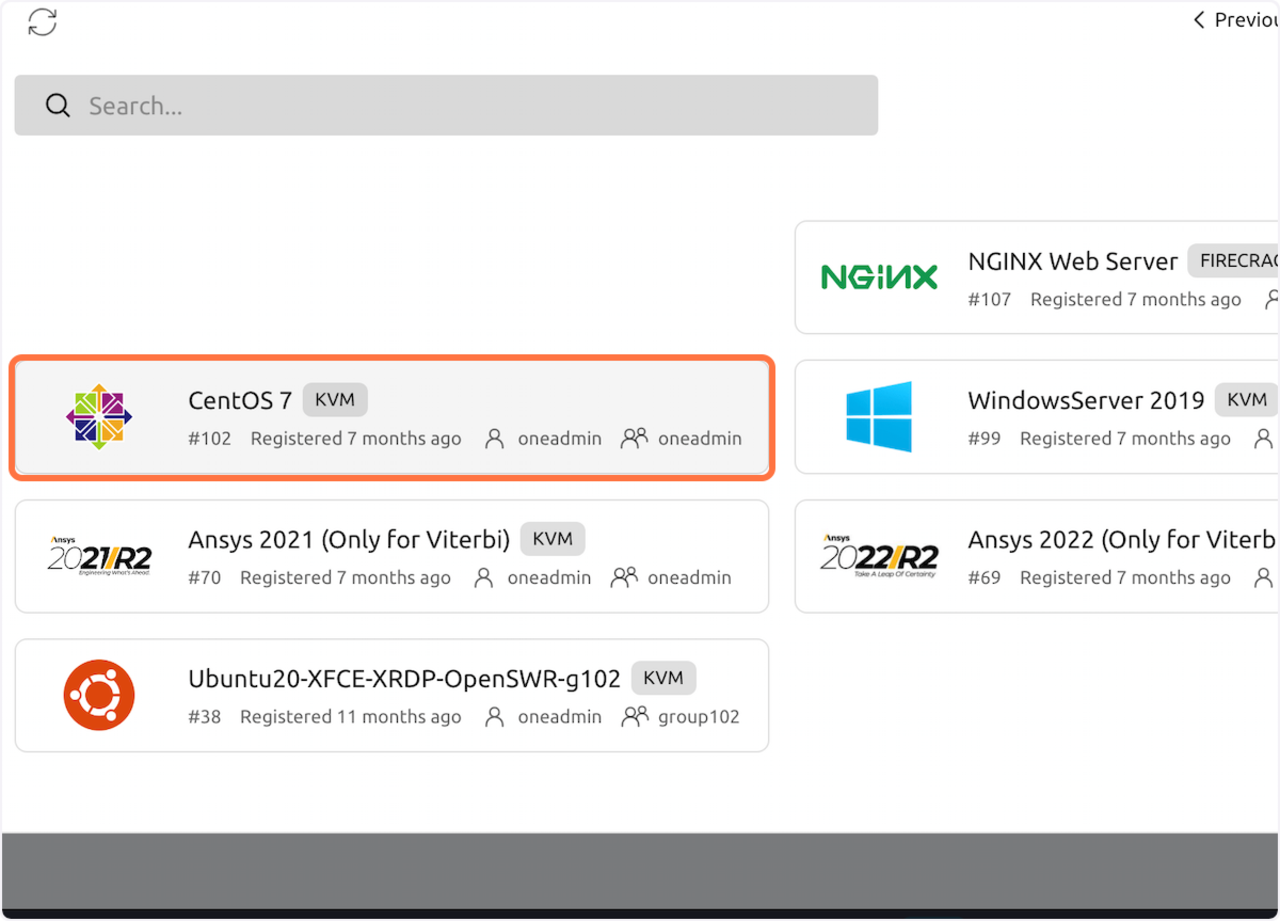
- 2 2. Select the Create button
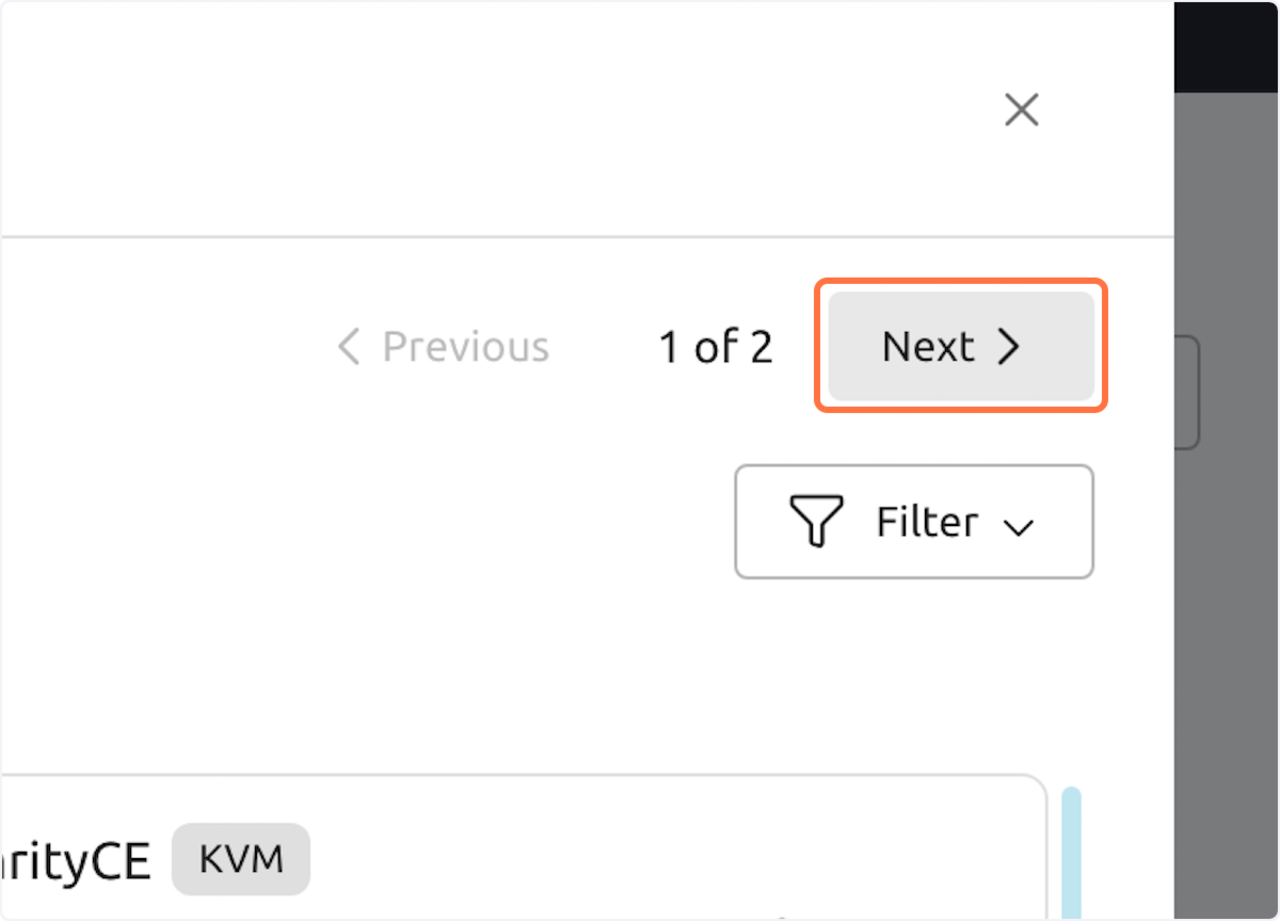
- 3 3. A table of all available VM templates is displayed
- 4 4. Navigate between the lists of VM templates by clicking on the Next and Previous buttons on the top right
- 5 5. Select the CentOS 7 VM template
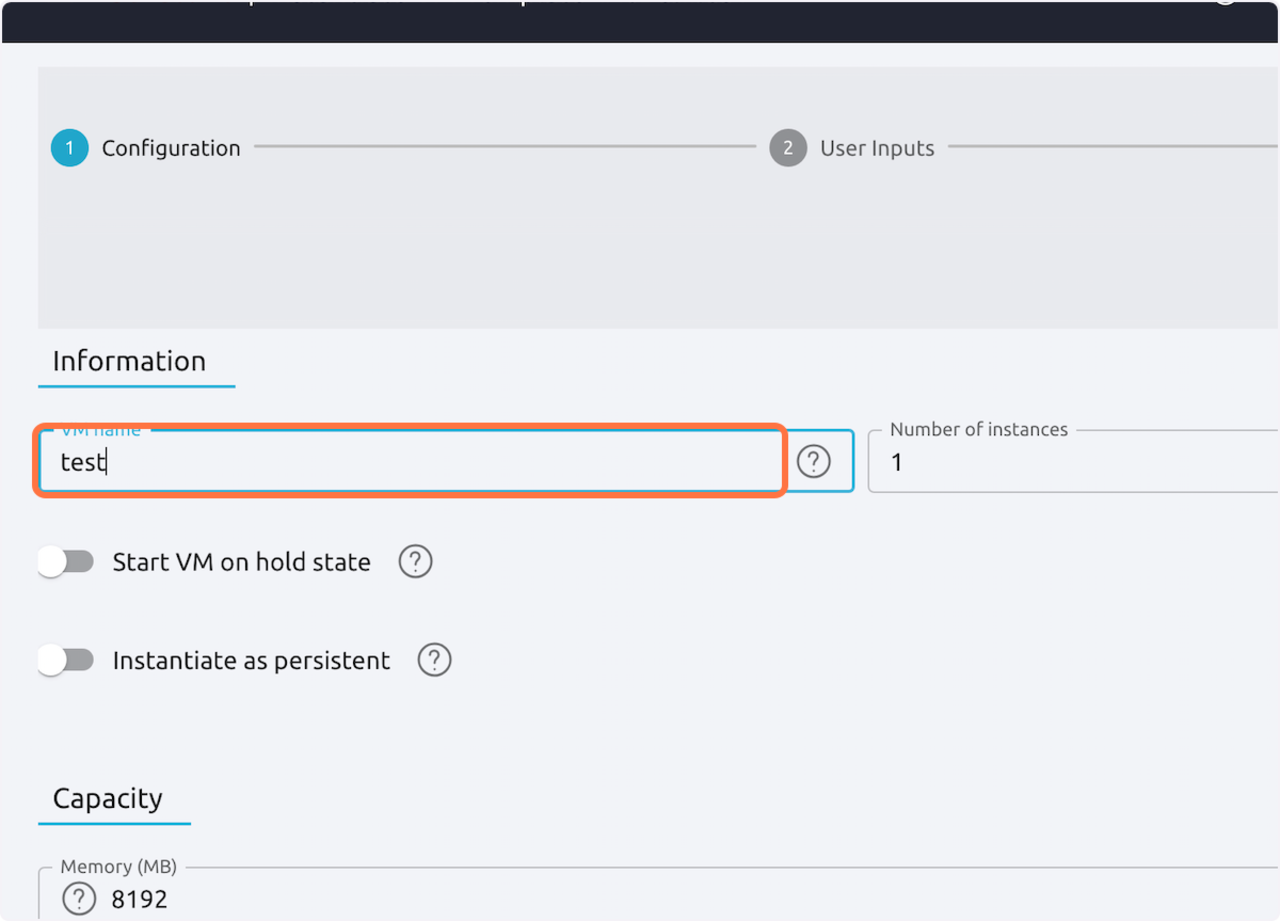
- 6 6. Enter a name for the VM
- 7 7. Specify the memory (in MBs) and the number of processors
- 8 8. The figure below shows a case with 64 GB of memory, 16 virtual CPUs, and using 16 physical CPUs
- 9 9. Select Next to continue
- 10 10. Specify the PROJECT_GROUP to grant access to this VM to the entire group
- 11 11. Modify other aspects of the VM before launch by clicking on the edit button
- 12 12. Select Finish to create the VM
- 13 13. You will be redirected to the first page. The VM is now displayed on this page
- 14 14. Select the refresh button to monitor the status of the VM
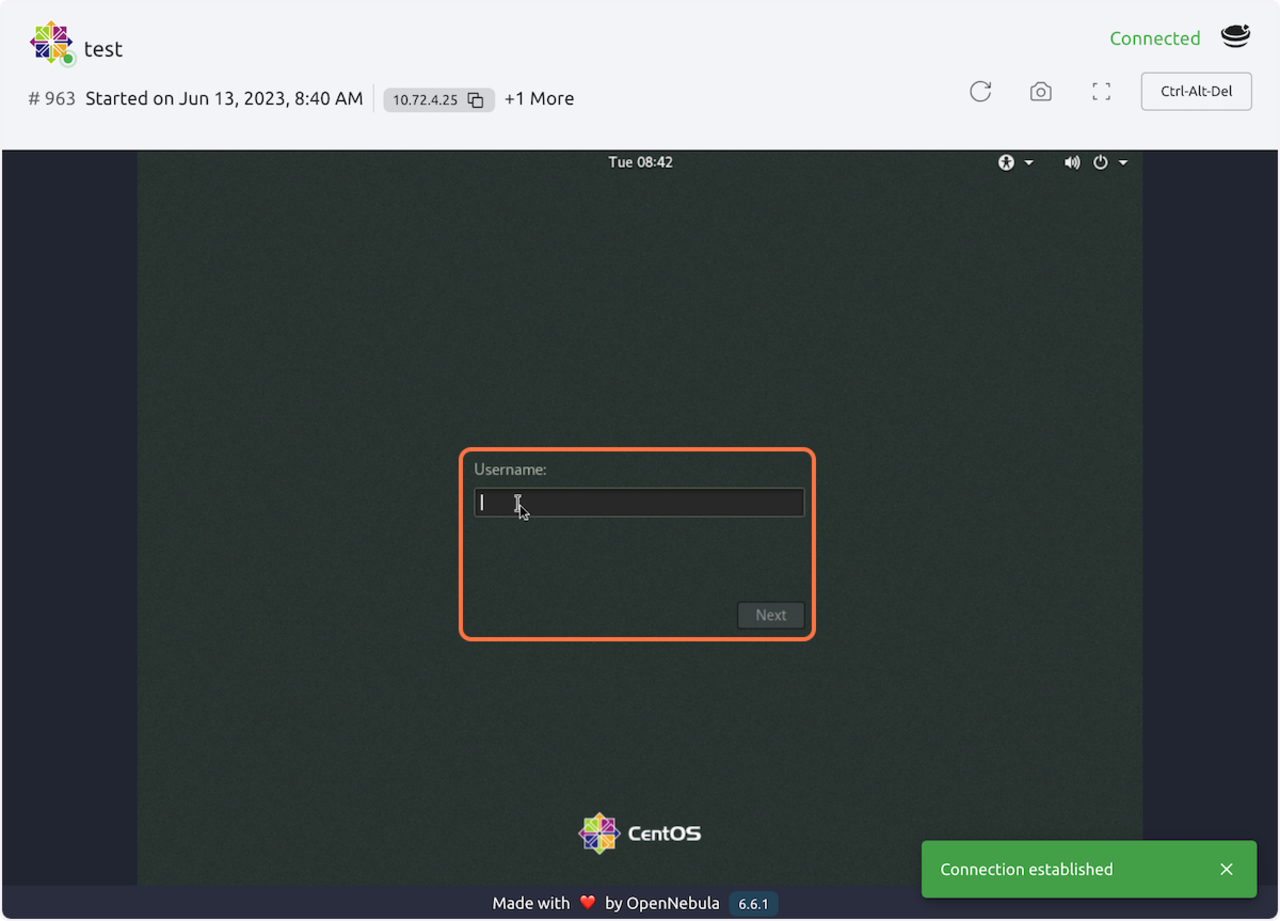
- 15 15. Access the GUI using VNC
- 16 16. Enter your username and password
This how-to guide explains the process step by step.
1 1. On the Artemis dashboard, select VMs
2 2. Select the Create button
3 3. A table of all available VM templates is displayed
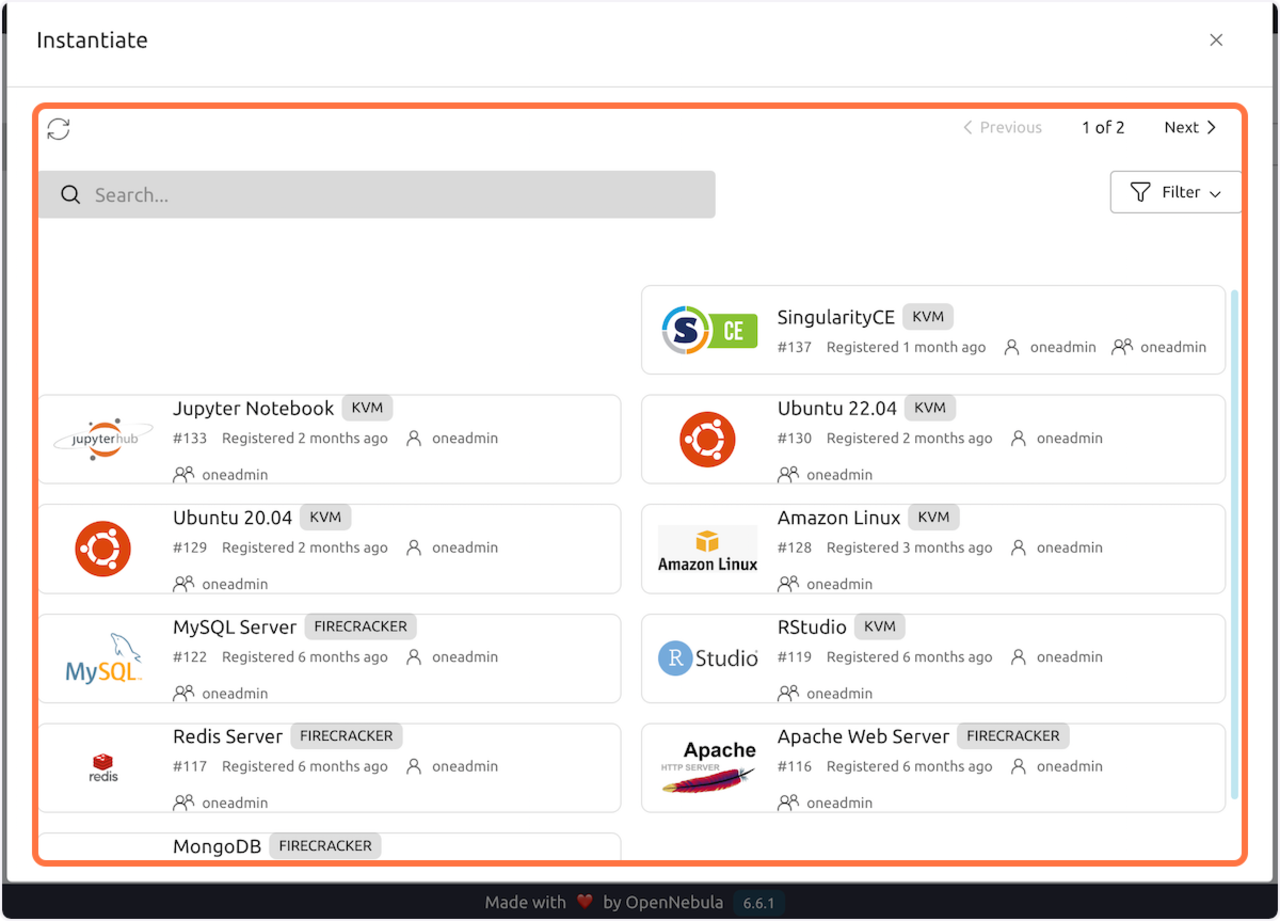
4 4. Navigate between the lists of VM templates by clicking on the Next and Previous buttons on the top right
5 5. Select the CentOS 7 VM template
6 6. Enter a name for the VM
In this example, we will name the VM “test.” If you would like to create more than one identical VM, enter in the number you would like to create to the right in the Number of instances field.
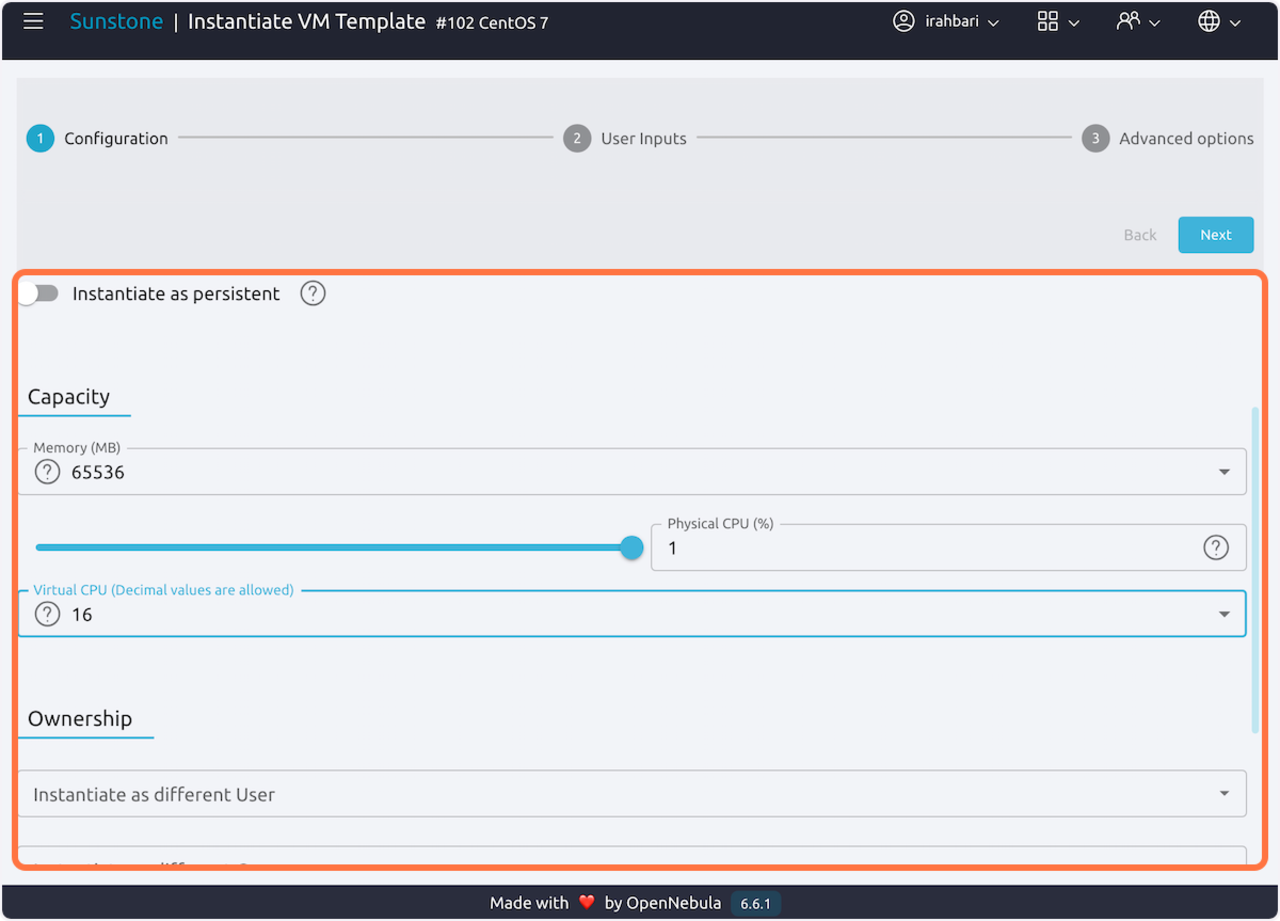
7 7. Specify the memory (in MBs) and the number of processors
From each drop-down menu, select from a list of possible memory capacities and available virtual CPU values.
Specify the number of physical cores by adjusting the blue slider. Values only range from 0-1.
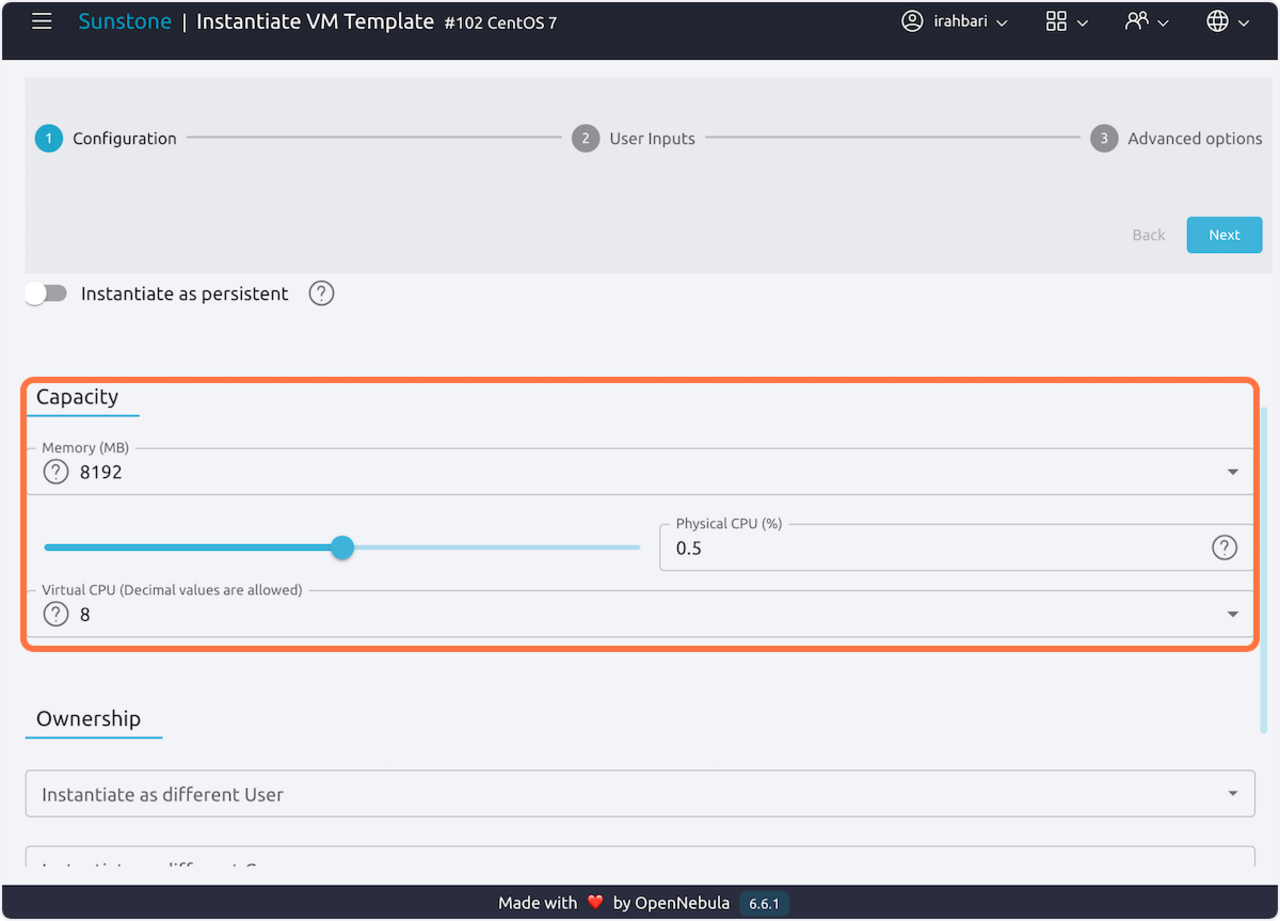
8 8. The figure below shows a case with 64 GB of memory, 16 virtual CPUs, and using 16 physical CPUs
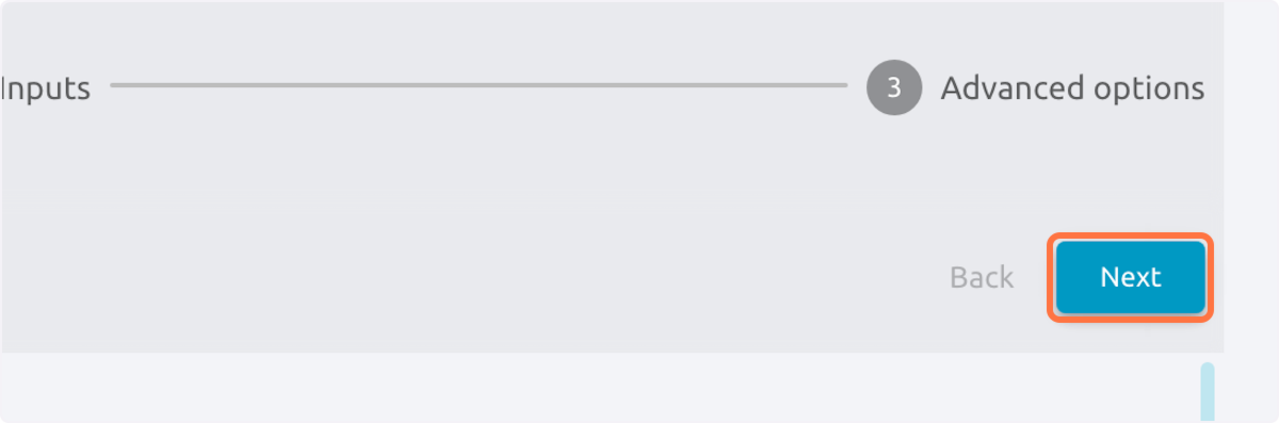
9 9. Select Next to continue
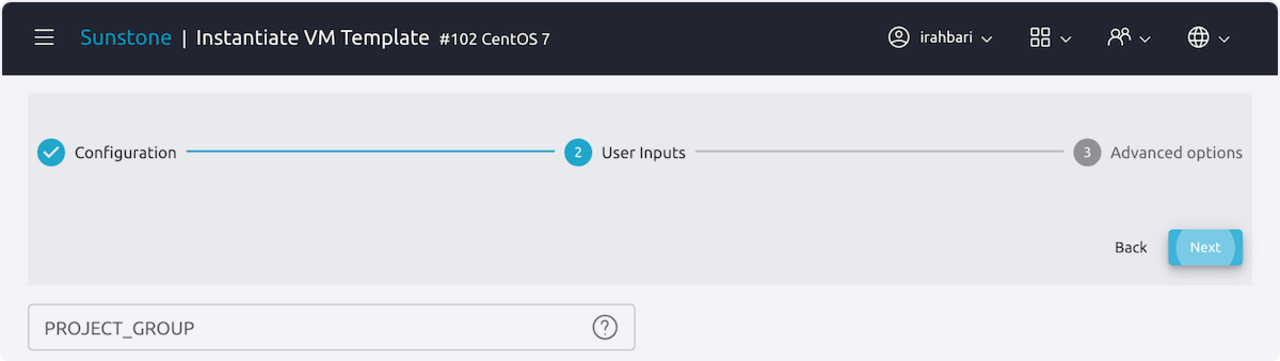
10 10. Specify the PROJECT_GROUP to grant access to this VM to the entire group
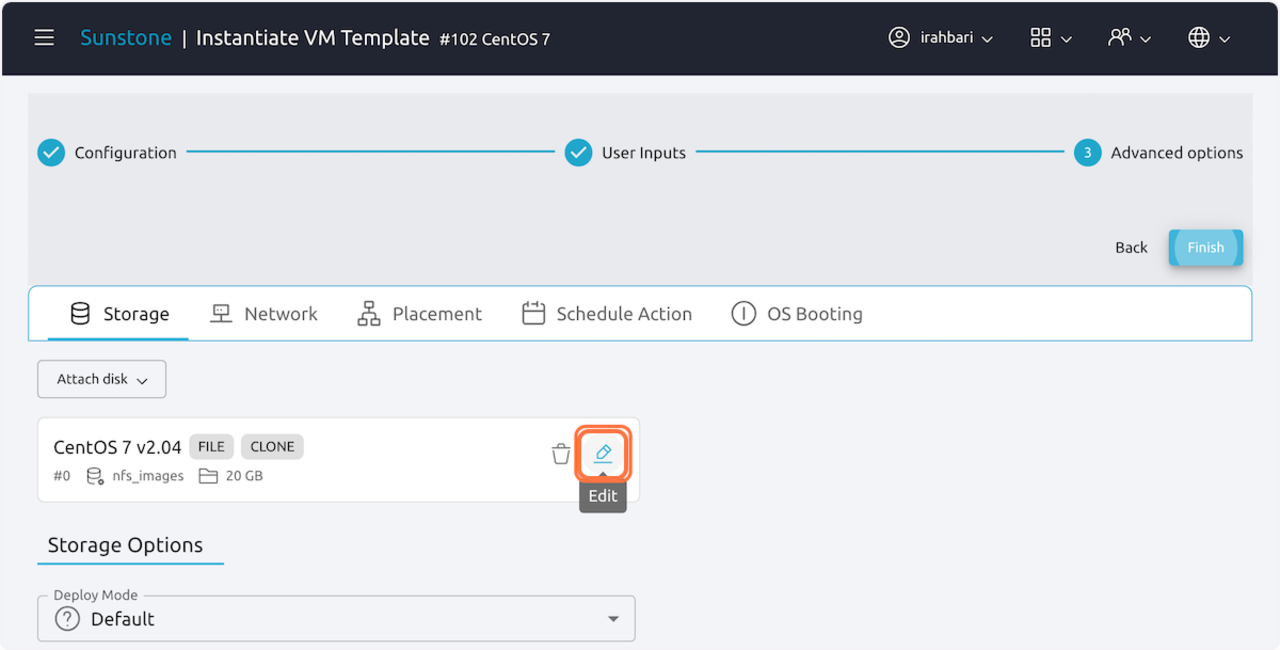
11 11. Modify other aspects of the VM before launch by clicking on the edit button
This is optional. VMs must be modified before launch.
12 12. Select Finish to create the VM

13 13. You will be redirected to the first page. The VM is now displayed on this page
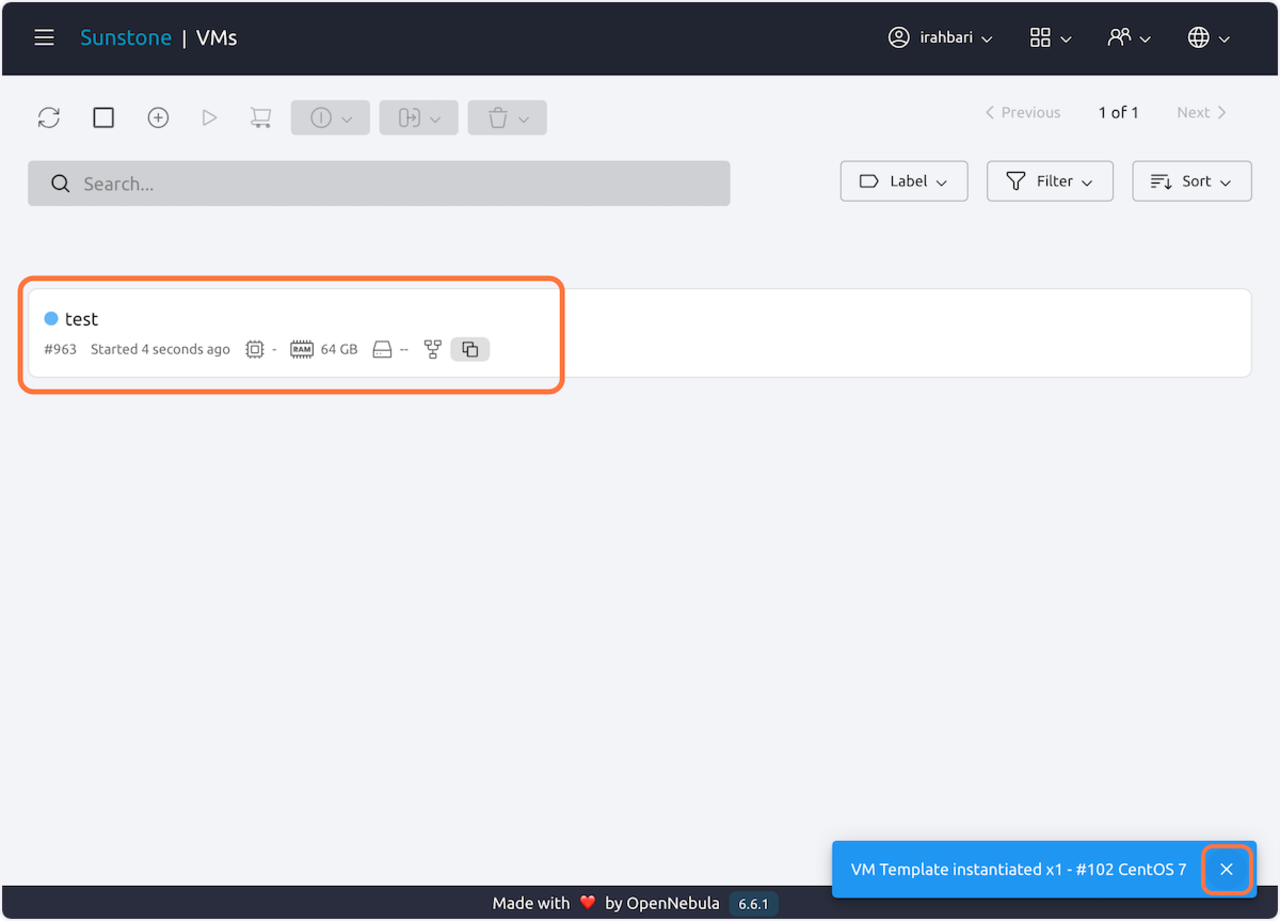
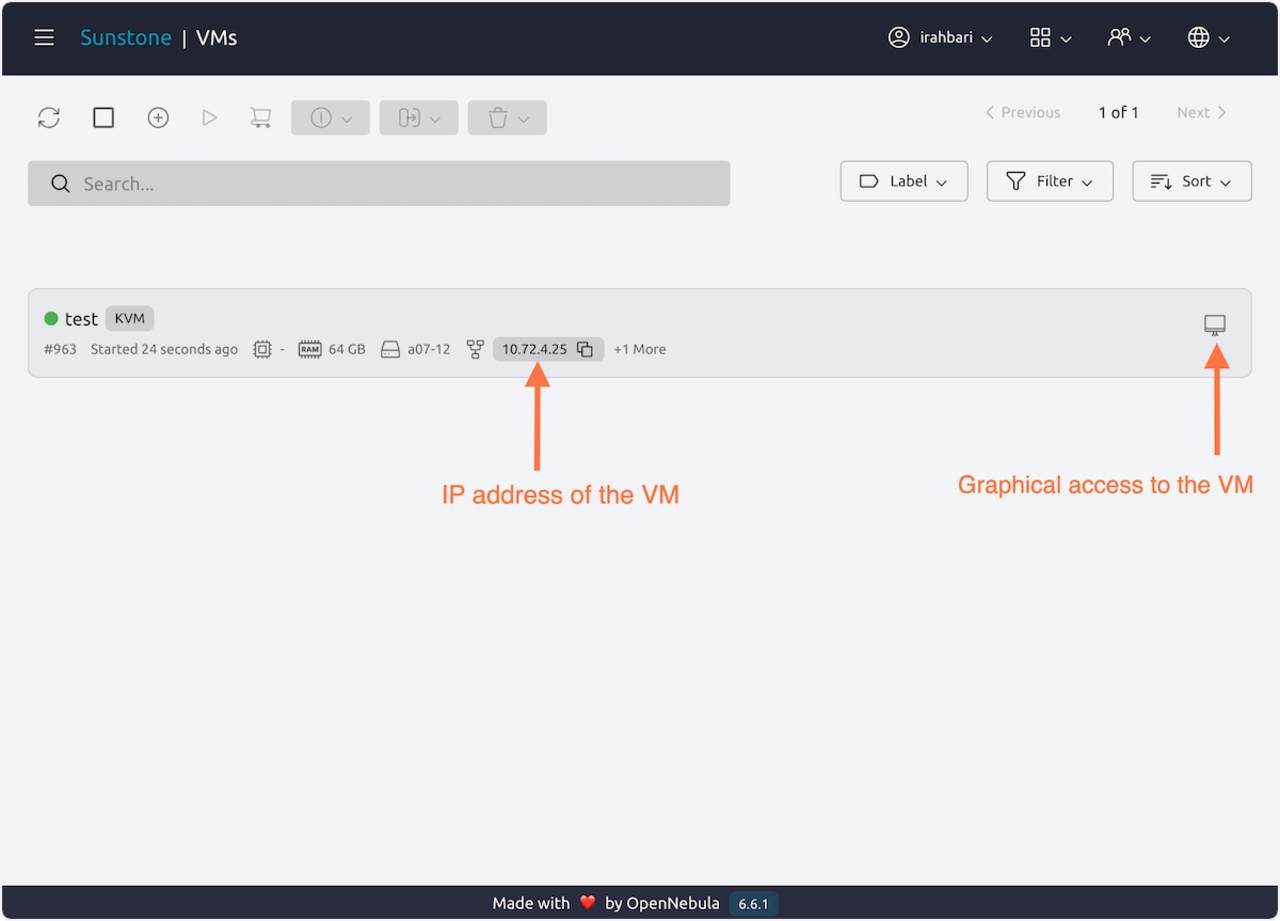
14 14. Select the refresh button to monitor the status of the VM
The circle to the left of the VM’s name displays its status:
- Blue - configuring
- Green - ready
Once the VM is ready, the IP address and graphical access icon appear.
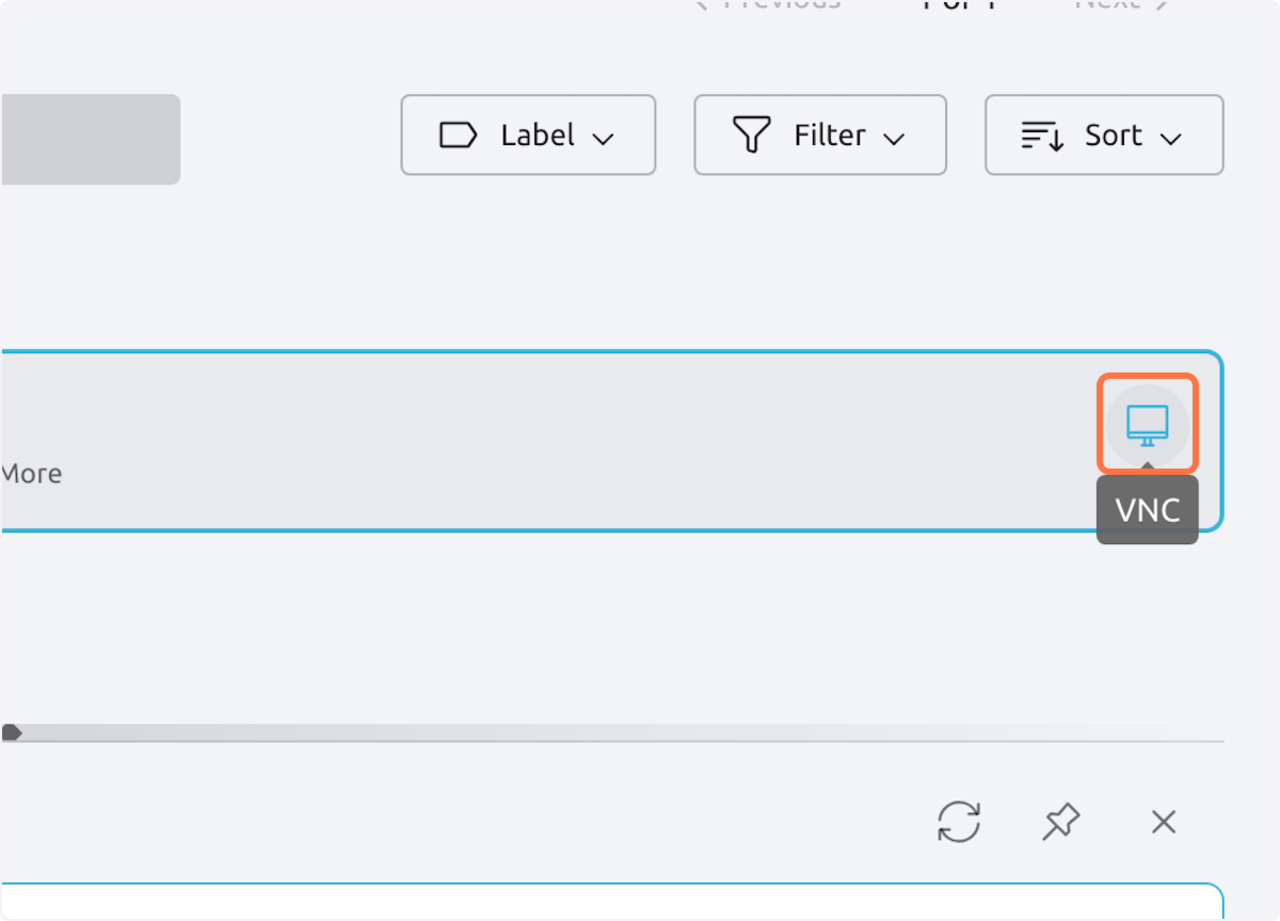
15 15. Access the GUI using VNC
There are two ways to access the Graphical User Interface (GUI):
- Virtual Network Computing (VNC) viewer
- Windows Remote Desktop
To use VNC, select the “Monitor” icon shown below:
16 16. Enter your username and password