Launch a Windows VM
Table of Contents
- 1 1. Click on VMs…
- 2 2. Click on Create
- 3 3. From the list of templates available, search for the Windows Server. It might be on the second page.
- 4 4. Navigate using the buttons on the top right buttons:
- 5 5. Click on the WindowsServer 2019
- 6 6. Provide the specifications such as VM’s name, memory, and CPUs
- 7 7. Click “Next”
- 8 8. Refresh the page and wait for the button, next to the VM’s name, to turn green
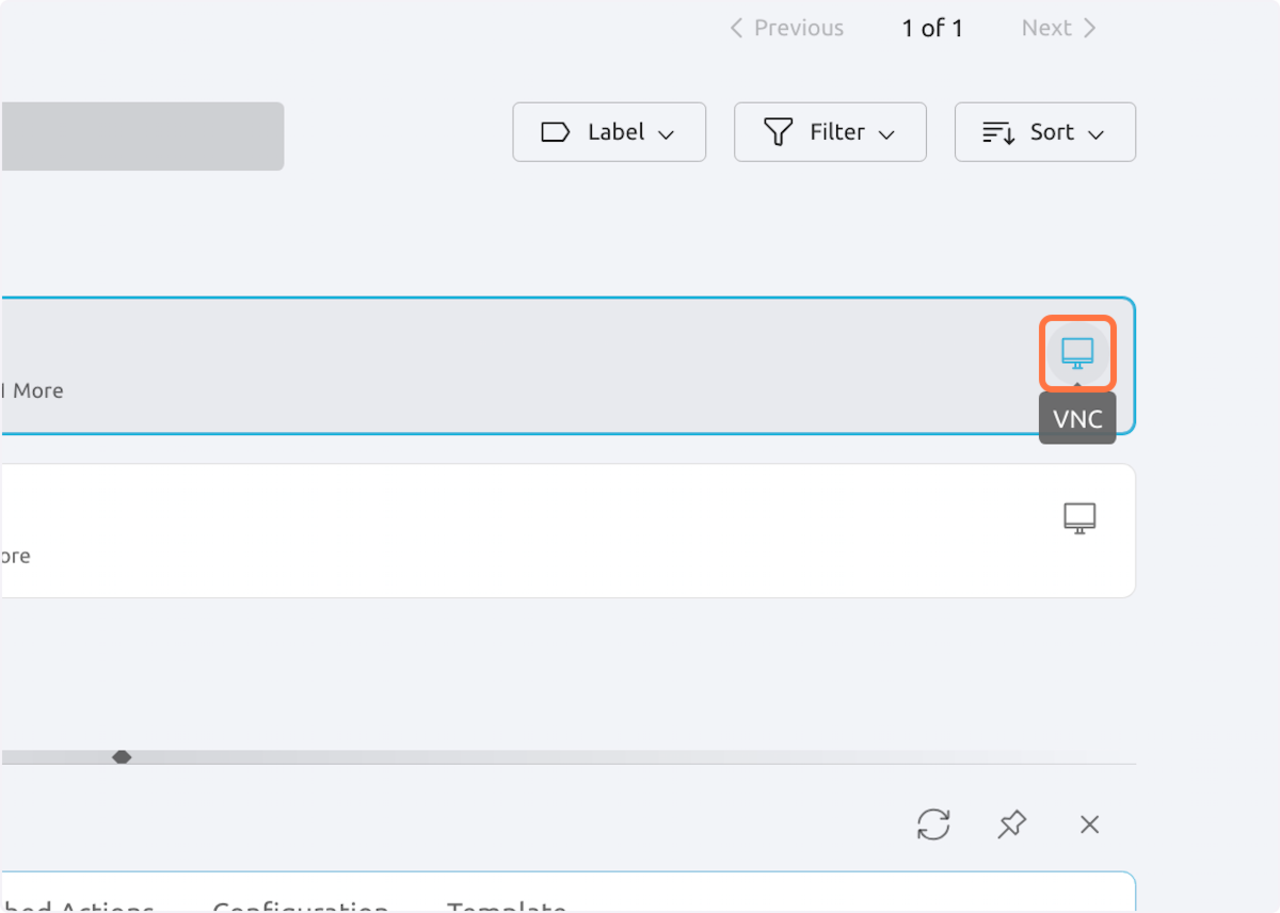
- 9 9. Click on VNC
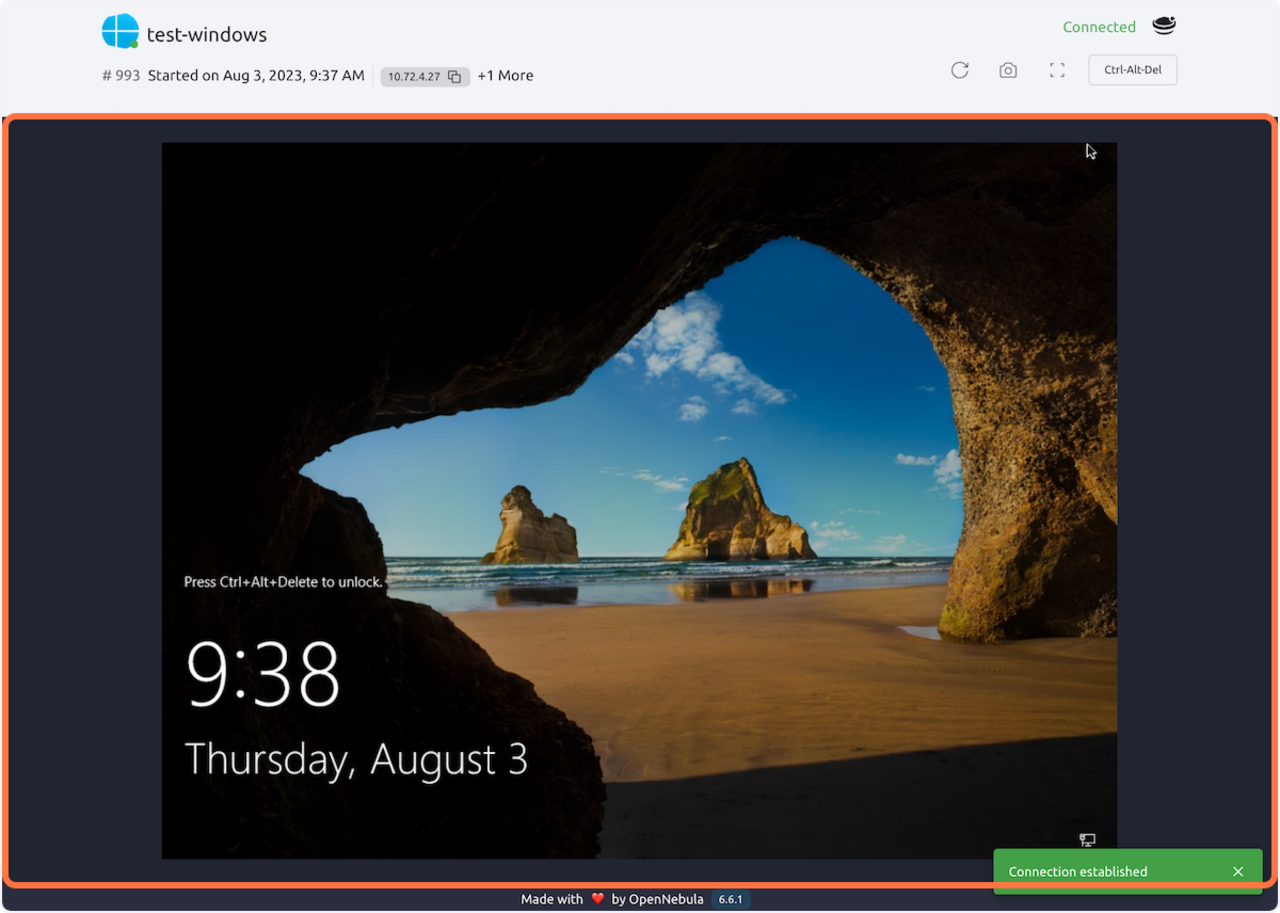
- 10 10. It will open a new window
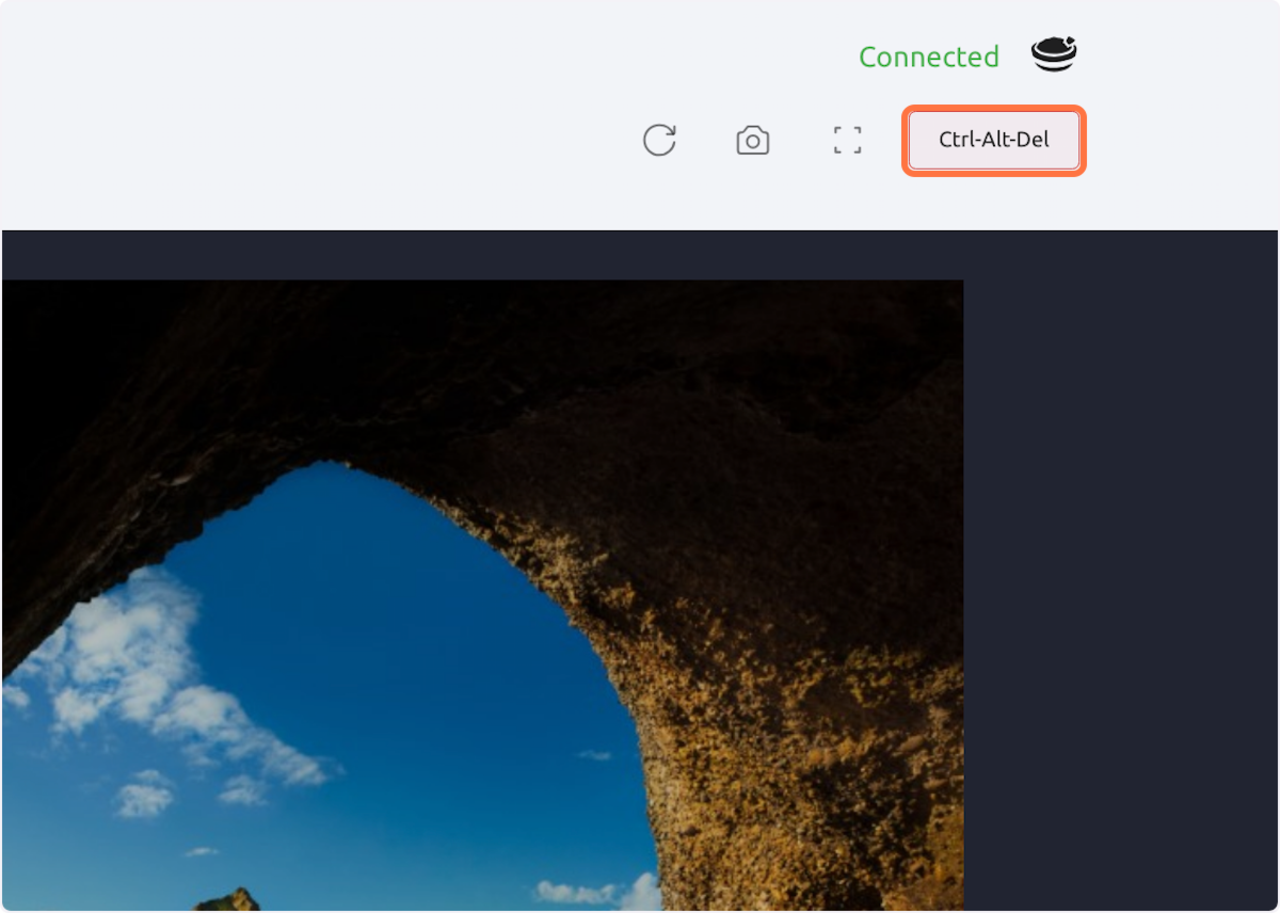
- 11 11. Click on Ctrl-Alt-Del
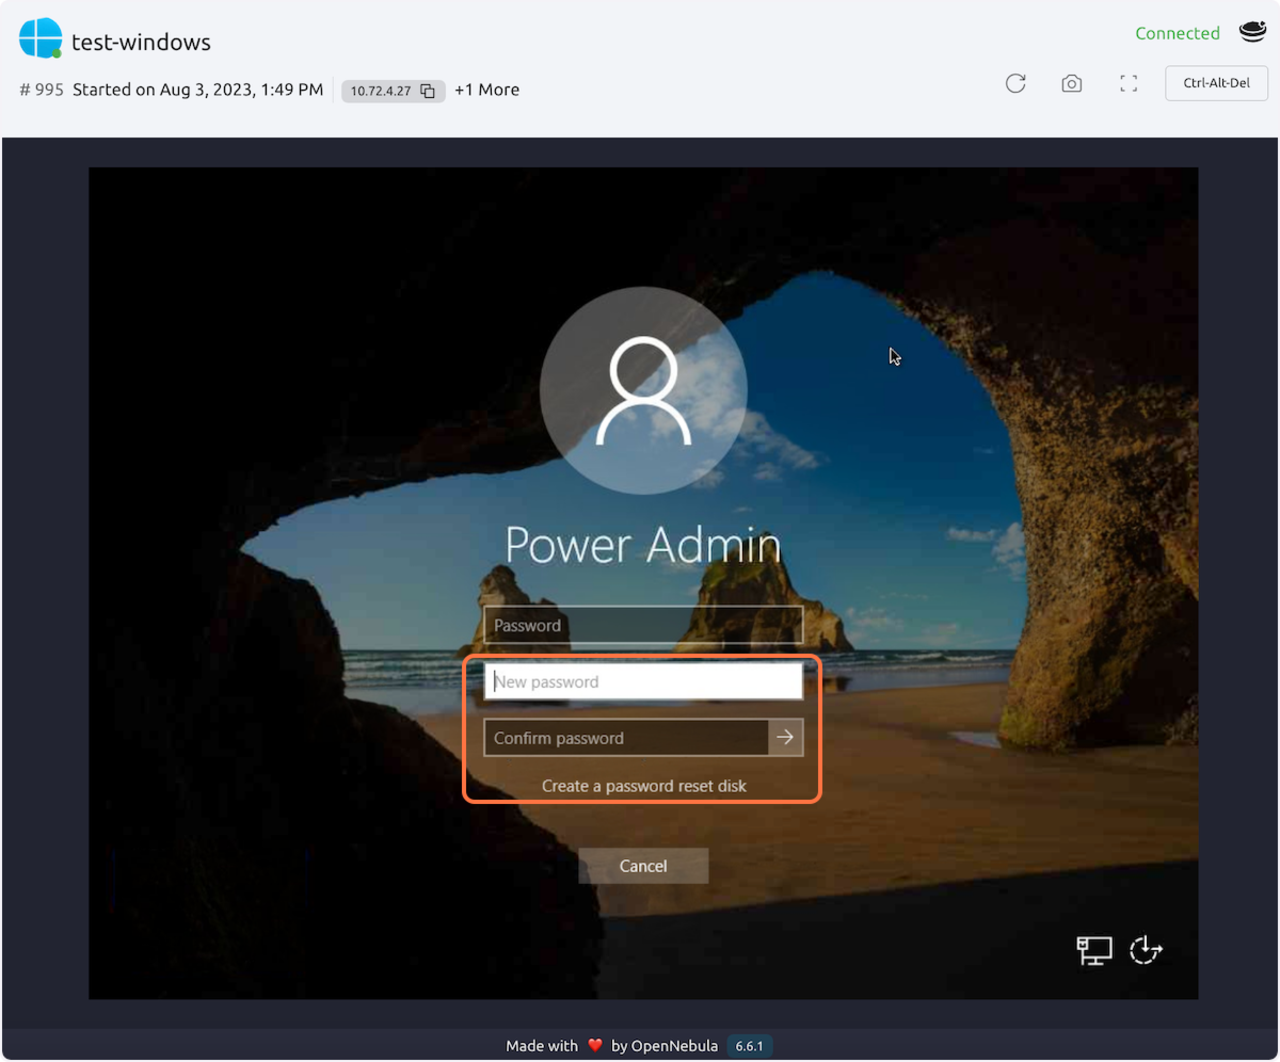
- 12 12. Select the “PowerAdmin” from the bottom left box
- 13 13. Select a Password and confirm it. To access this VM, you NEED TO HAVE this password, and your username will be “Power Admin”.
- 14 14. You will be able to access the GUI either via your browser, via VNC, or using the “Microsoft Remote Desktop” application.
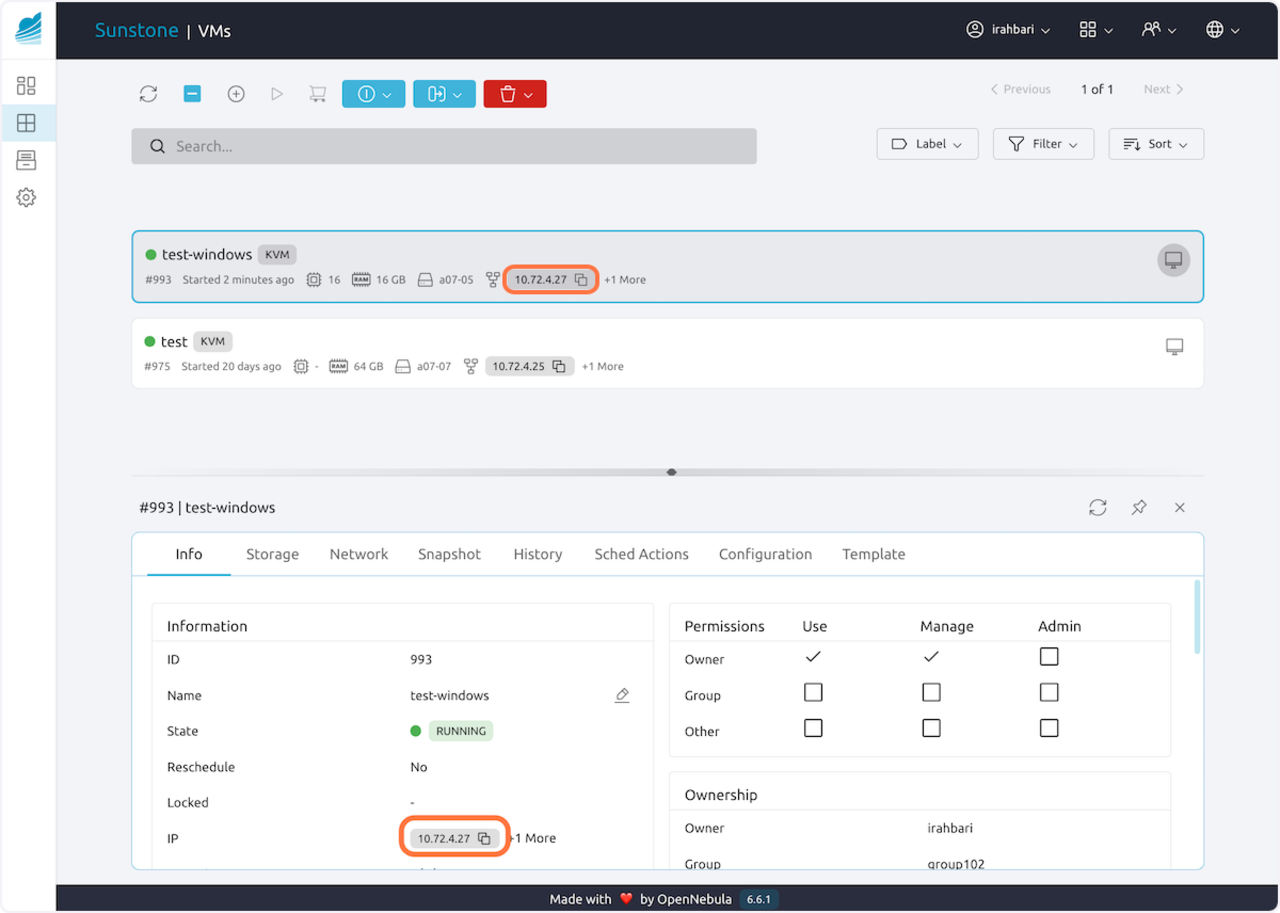
- 15 15. In order to connect to this VM using the “Microsoft Remote Desk” app via the IP address provided at the top of this page, for instance, “10.72.4.27”. The IP address is also shown on the dashboard page.
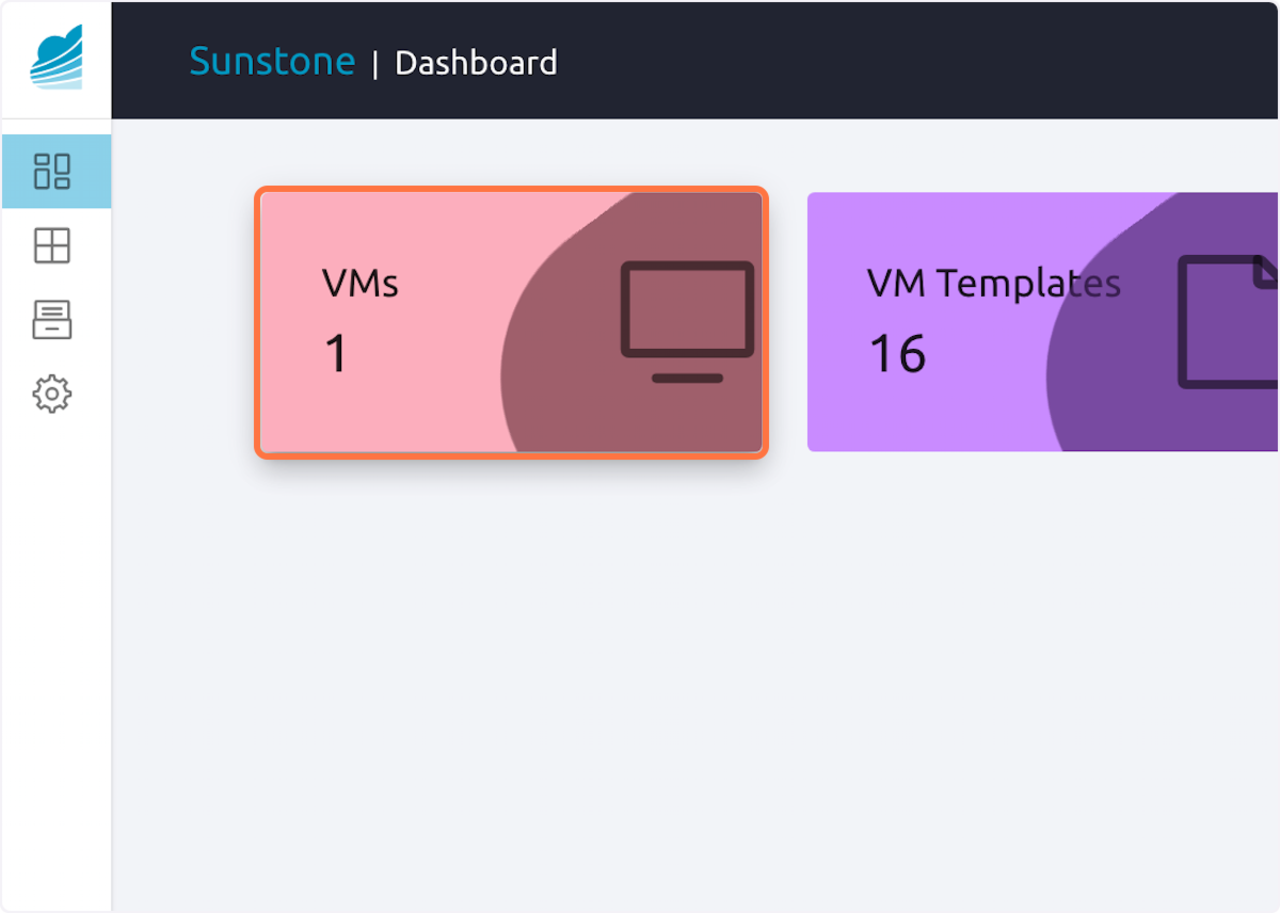
1 1. Click on VMs…
2 2. Click on Create

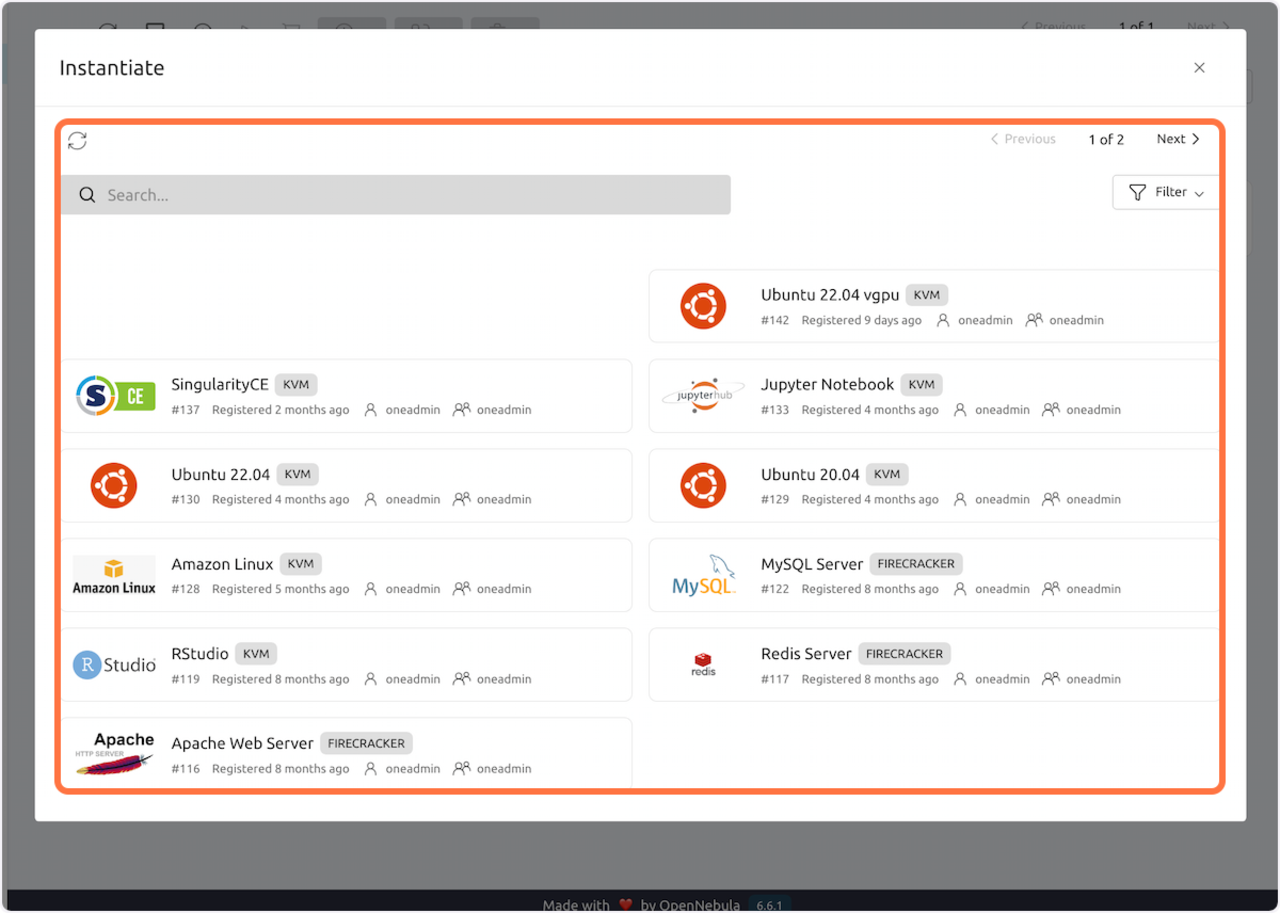
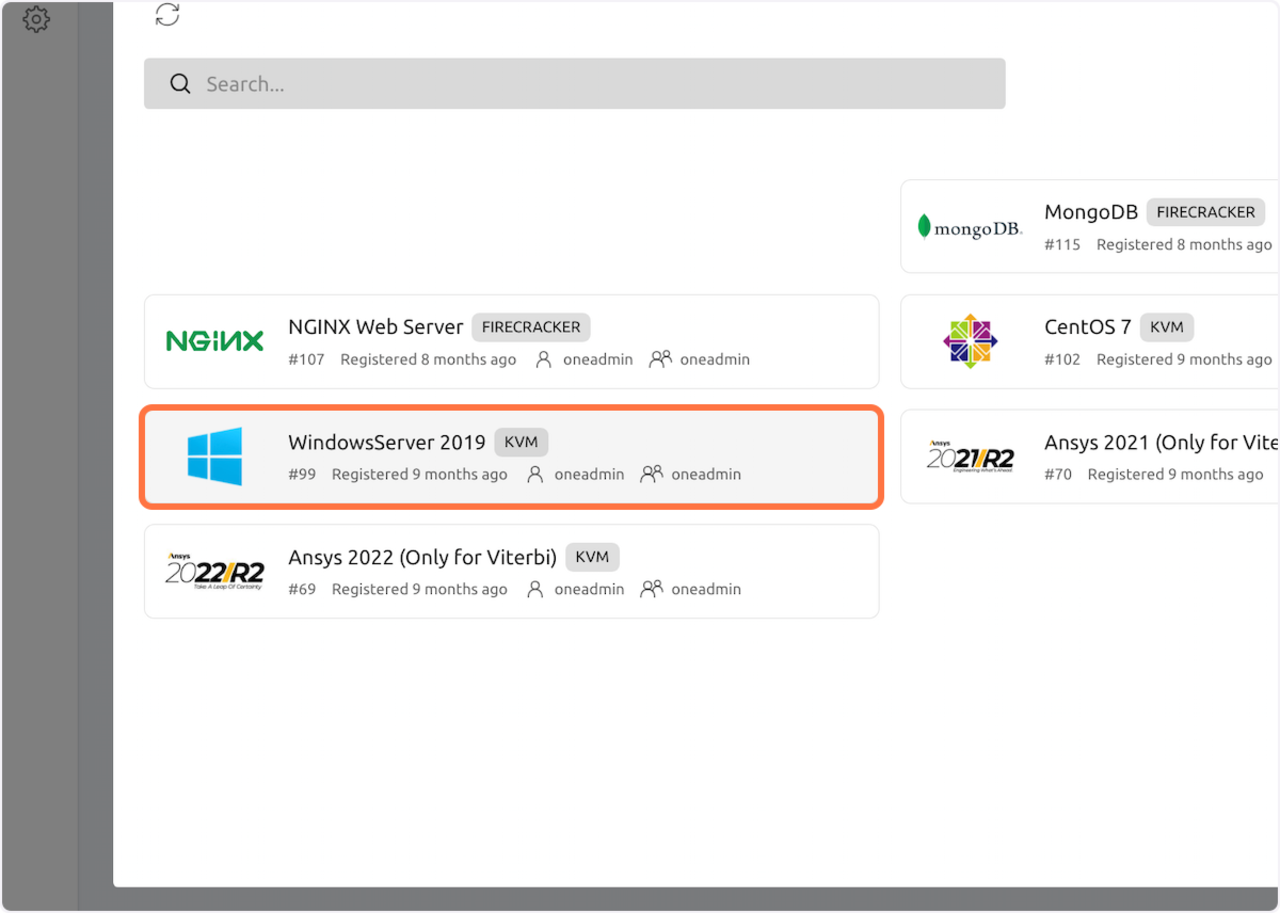
3 3. From the list of templates available, search for the Windows Server. It might be on the second page.
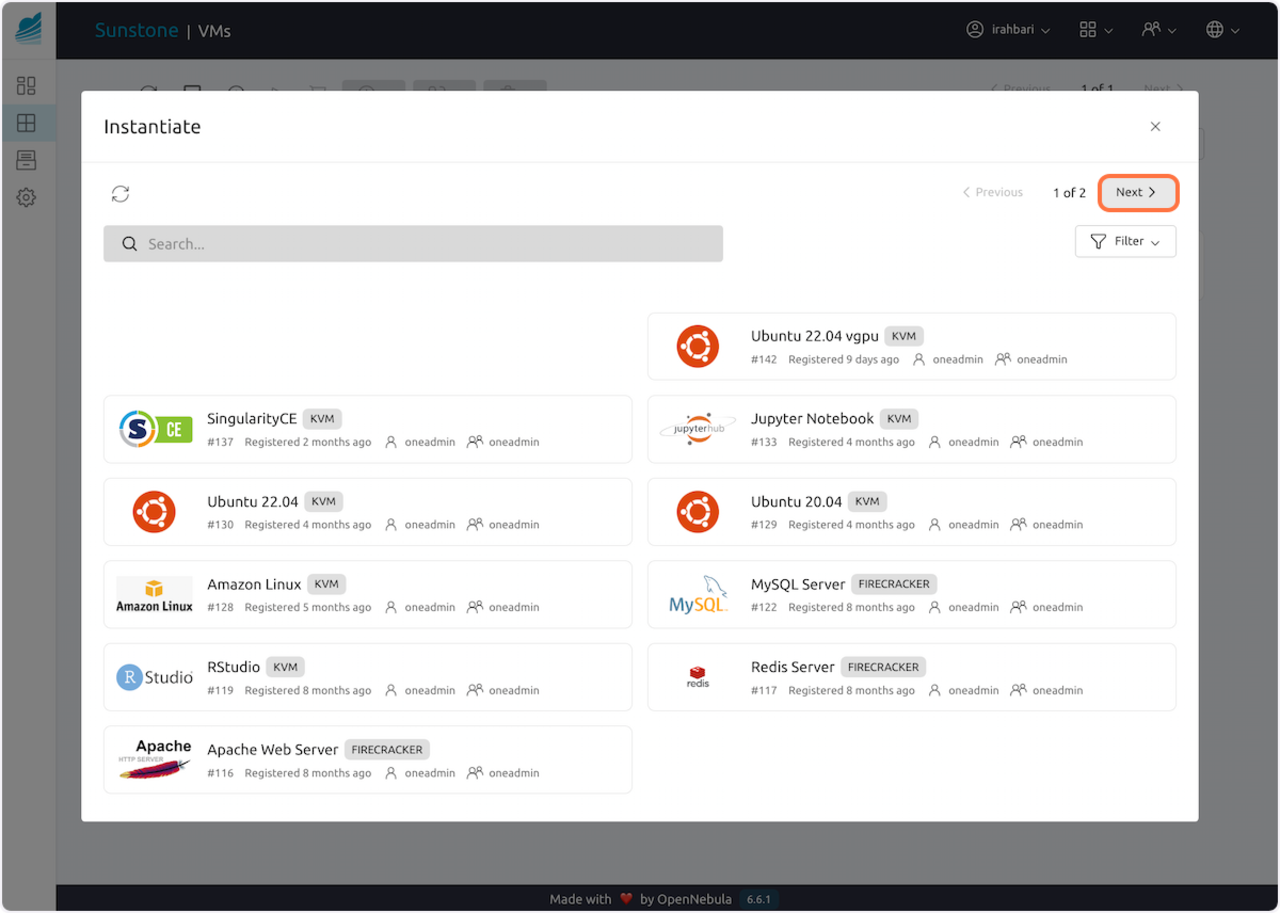
4 4. Navigate using the buttons on the top right buttons:
5 5. Click on the WindowsServer 2019
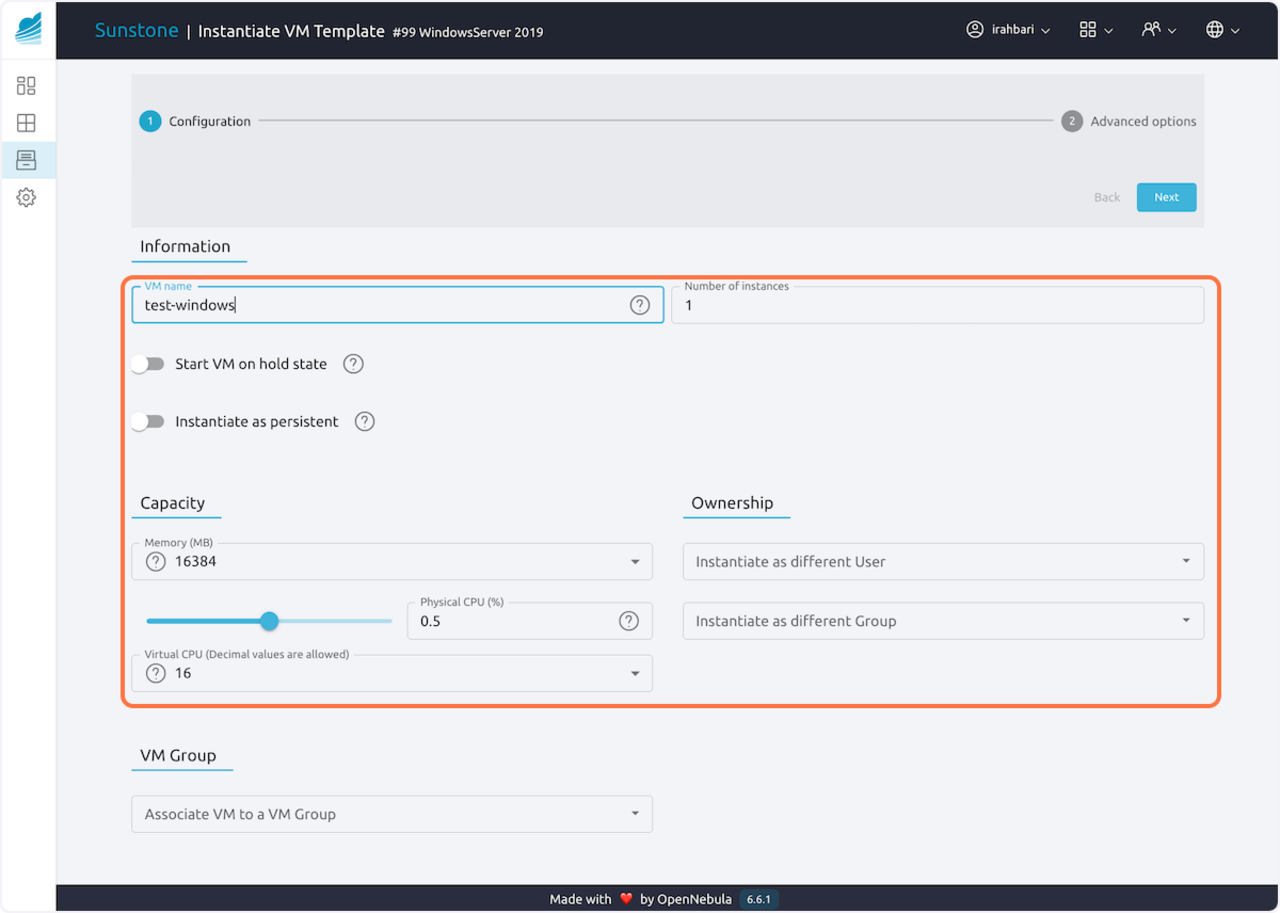
6 6. Provide the specifications such as VM’s name, memory, and CPUs
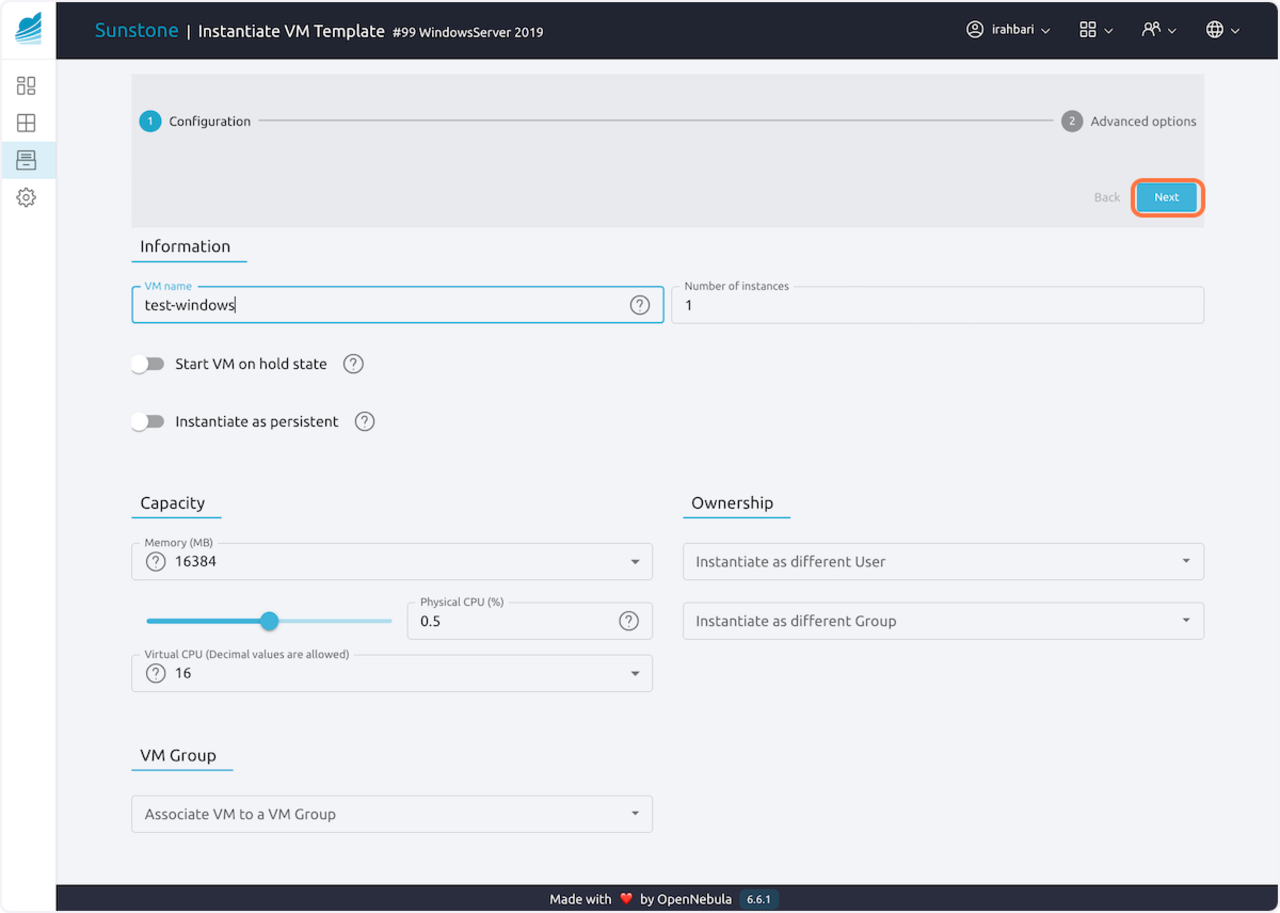
7 7. Click “Next”
8 8. Refresh the page and wait for the button, next to the VM’s name, to turn green
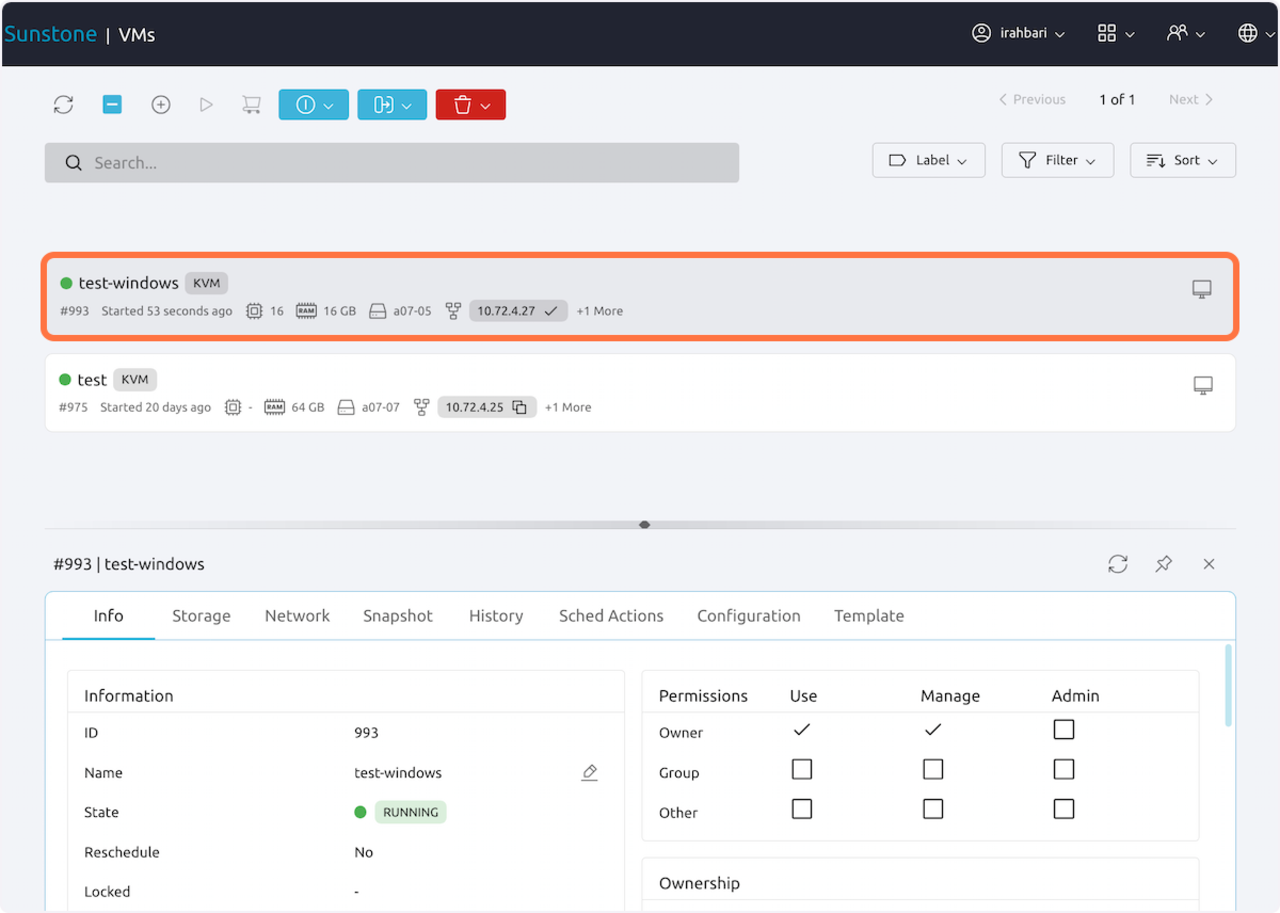
9 9. Click on VNC
10 10. It will open a new window
11 11. Click on Ctrl-Alt-Del
12 12. Select the “PowerAdmin” from the bottom left box
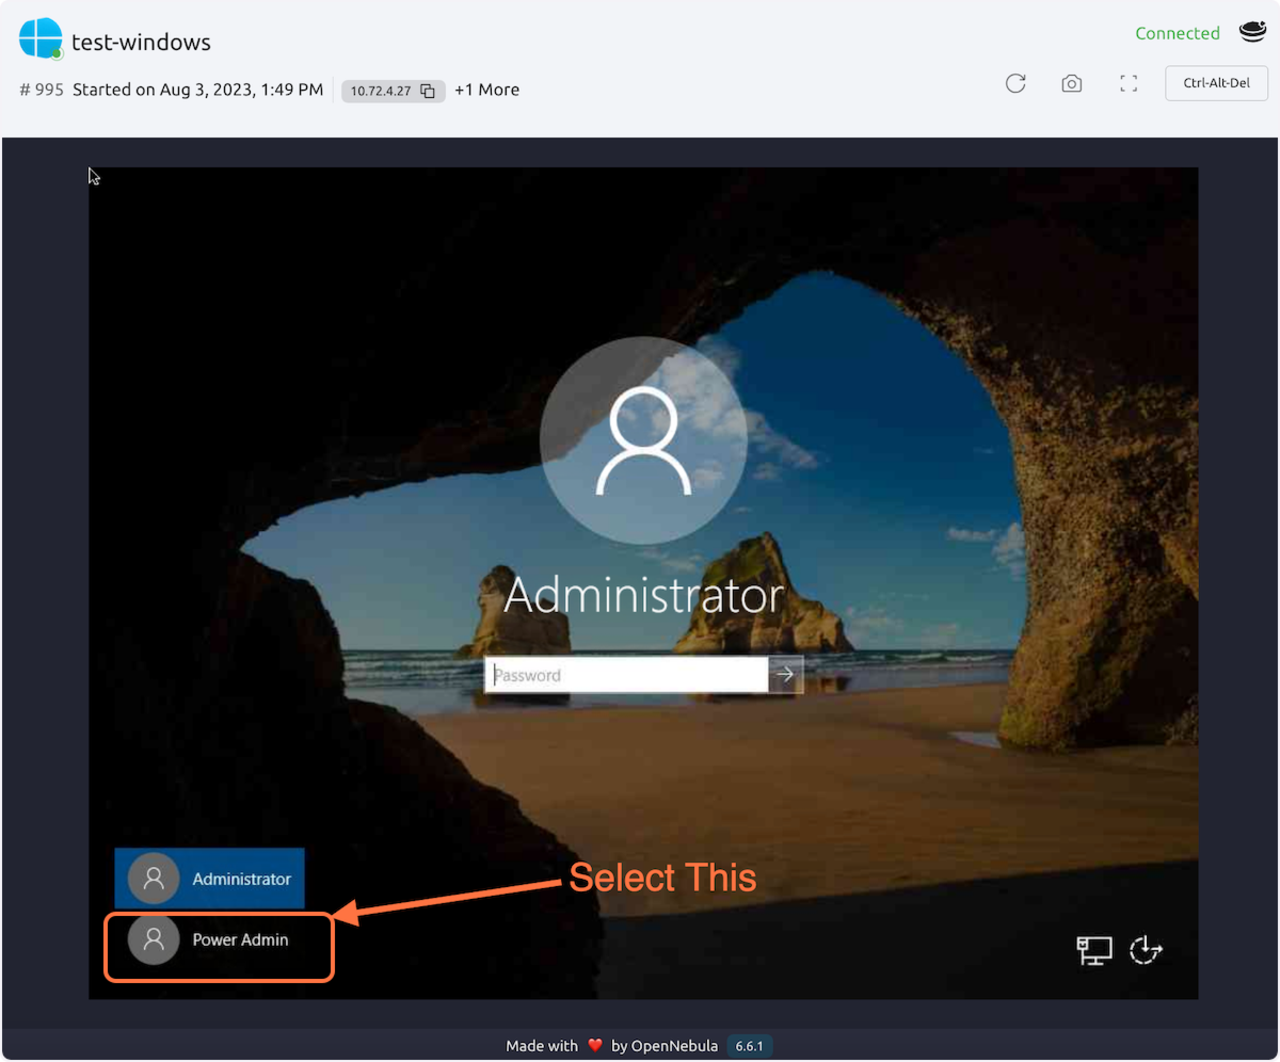
13 13. Select a Password and confirm it. To access this VM, you NEED TO HAVE this password, and your username will be “Power Admin”.
14 14. You will be able to access the GUI either via your browser, via VNC, or using the “Microsoft Remote Desktop” application.
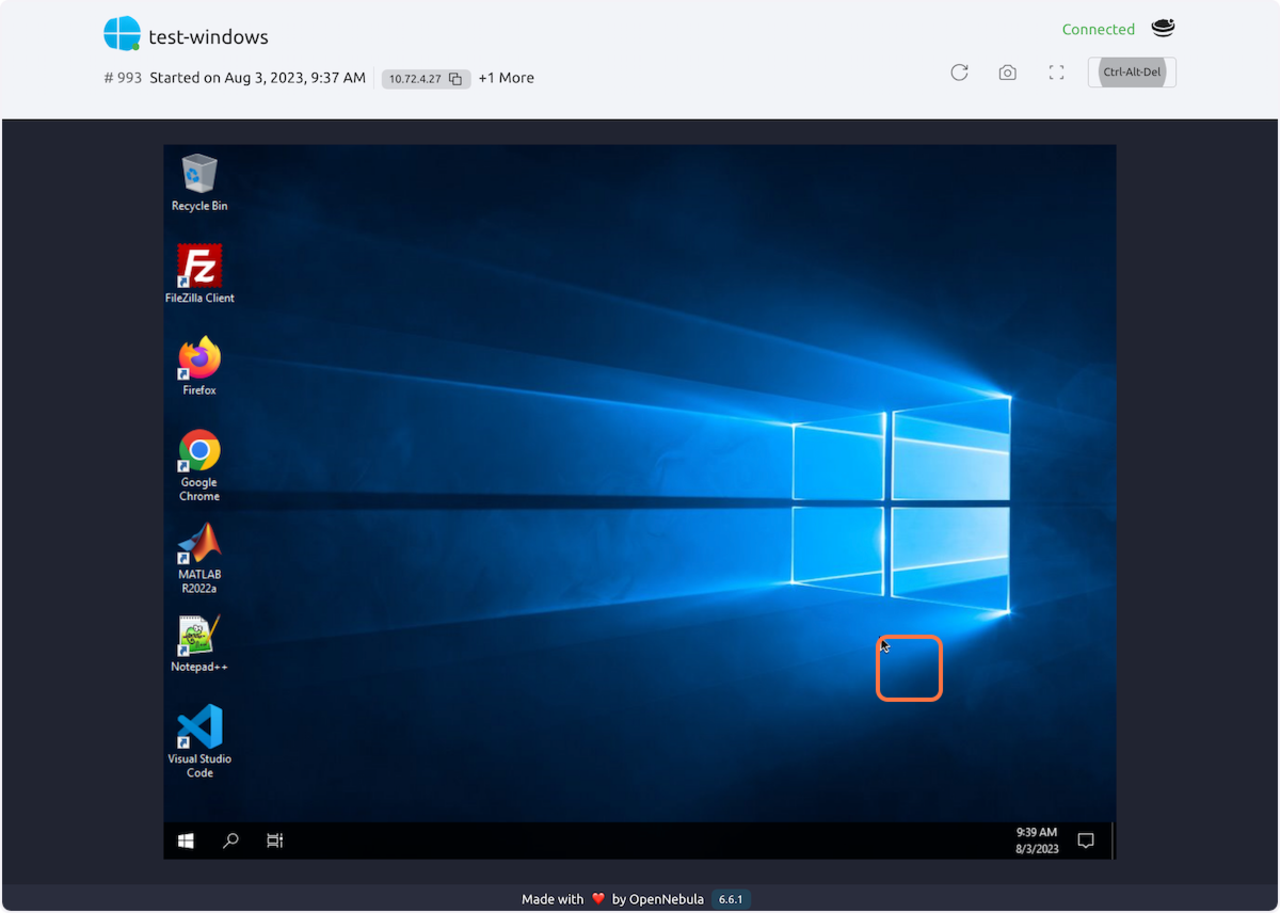
15 15. In order to connect to this VM using the “Microsoft Remote Desk” app via the IP address provided at the top of this page, for instance, “10.72.4.27”. The IP address is also shown on the dashboard page.