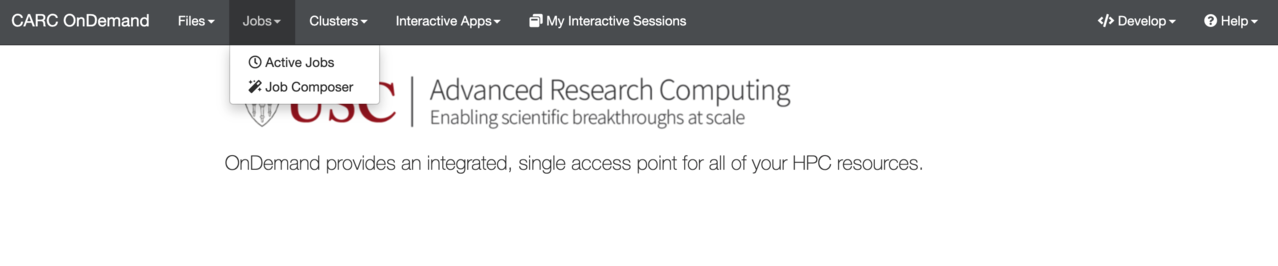
Running Jobs with CARC OnDemand
OnDemand provides two related job management tools. The Active Jobs tool allows you to monitor queued and running jobs and the Job Composer tool allows you to create and submit jobs via your web browser:
0.0.0.1 Active Jobs
The Active Jobs tool will show you all jobs currently in the queue (running or queued), regardless of how the jobs were submitted:
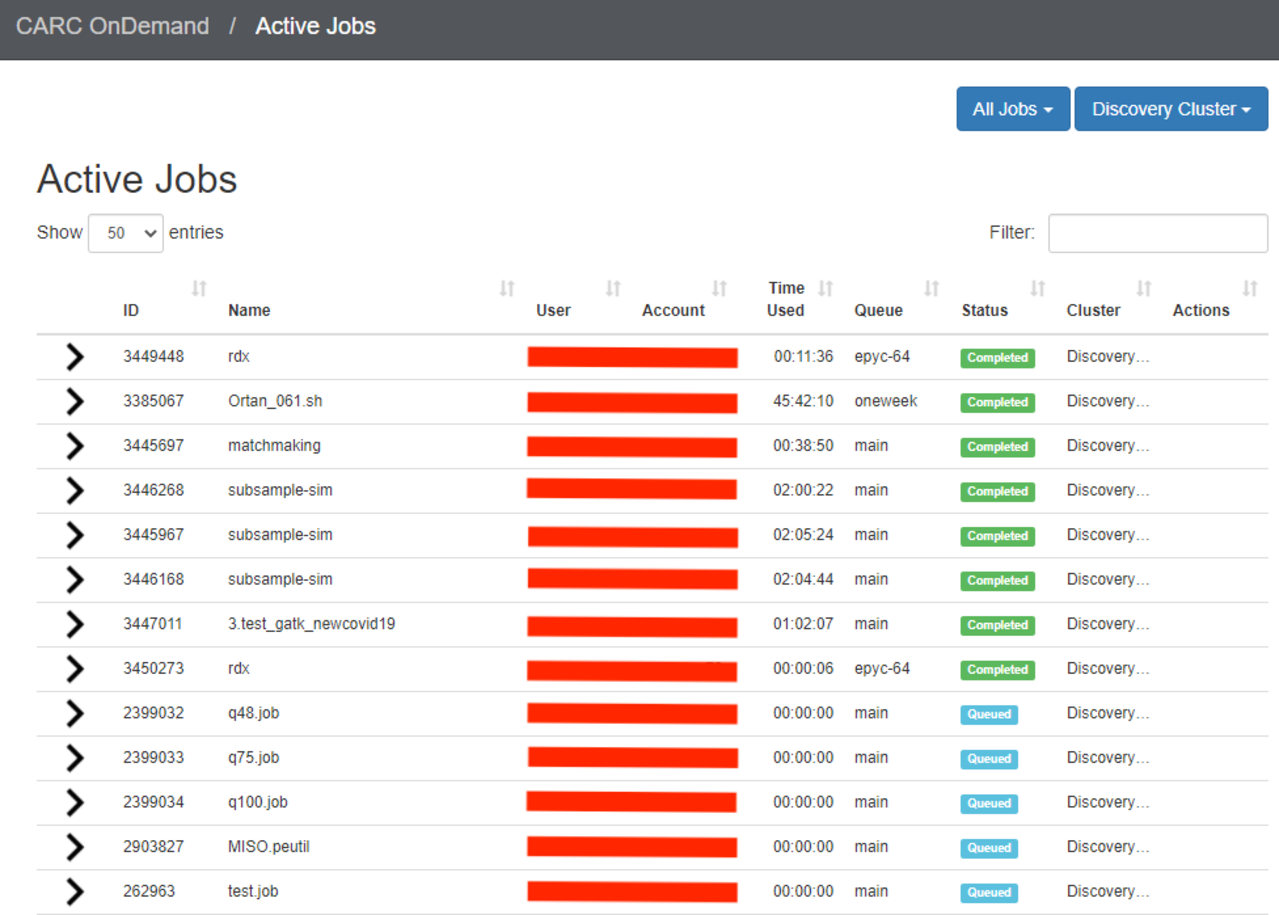
You can use the dropdown options at the top of the page to toggle between your jobs, all jobs, and the different clusters. The screenshot above shows all jobs on both clusters. You can also use the Filter tool to filter jobs based on systems (Discovery or Endeavour), status (running, queued, or hold), user, project account, etc.
If you click the arrow to the left of a job entry, you can get more information about the job, including information about the node(s) on which the job is running.
0.0.0.2 Job Composer
Selecting Job Composer in the Jobs menu will open the Jobs page, where you can create new jobs and submit them to the cluster, and inspect the results of jobs submitted via this tool.
To create a new job using the Job Composer, from the Jobs page, click the + New Job button:
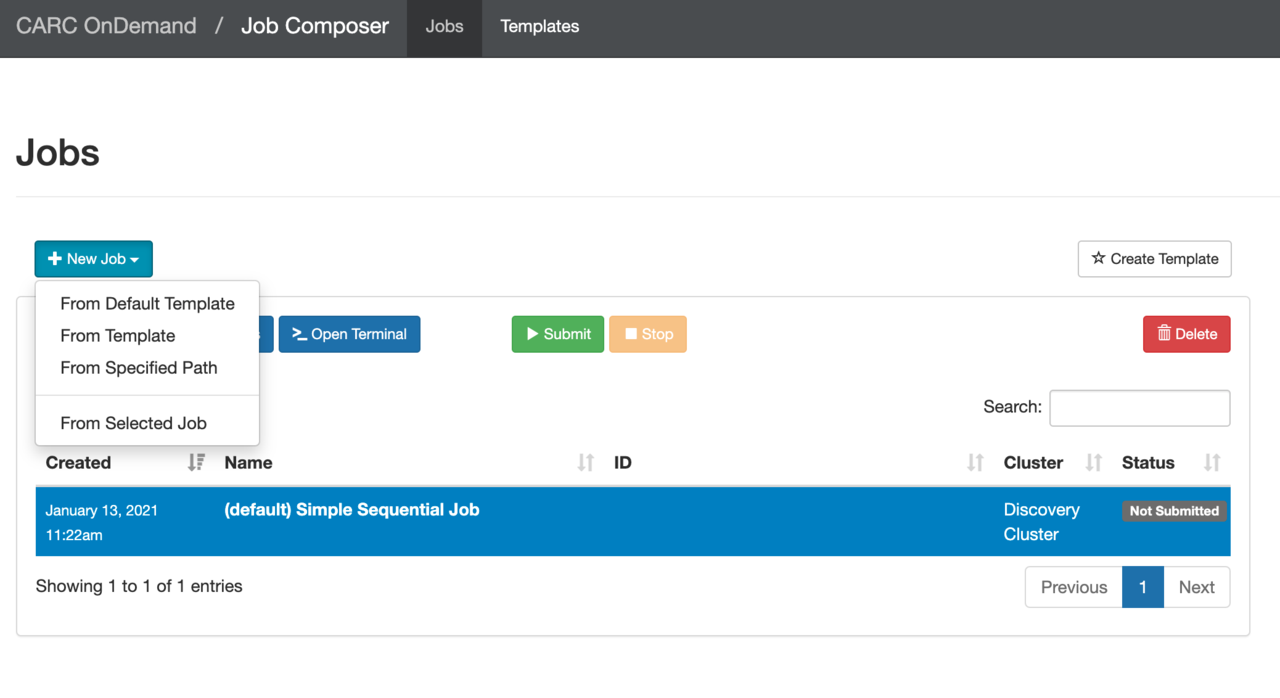 There are four ways to create a job:
- From Default Template creates a Simple Sequential Job (the default job template)
- From Template creates a new job by copying from an existing job template directory
- From Specified Path creates a new job based on the source path to a directory on Discovery/Endeavour
- From Selected Job creates a new job from a previously-run job directory
For example, to create a new job from a job template, select New Job->From Template. Next, select the job template to copy (in this case, Job Array Job), then click the blue Create New Job button on the left-hand side of the page:
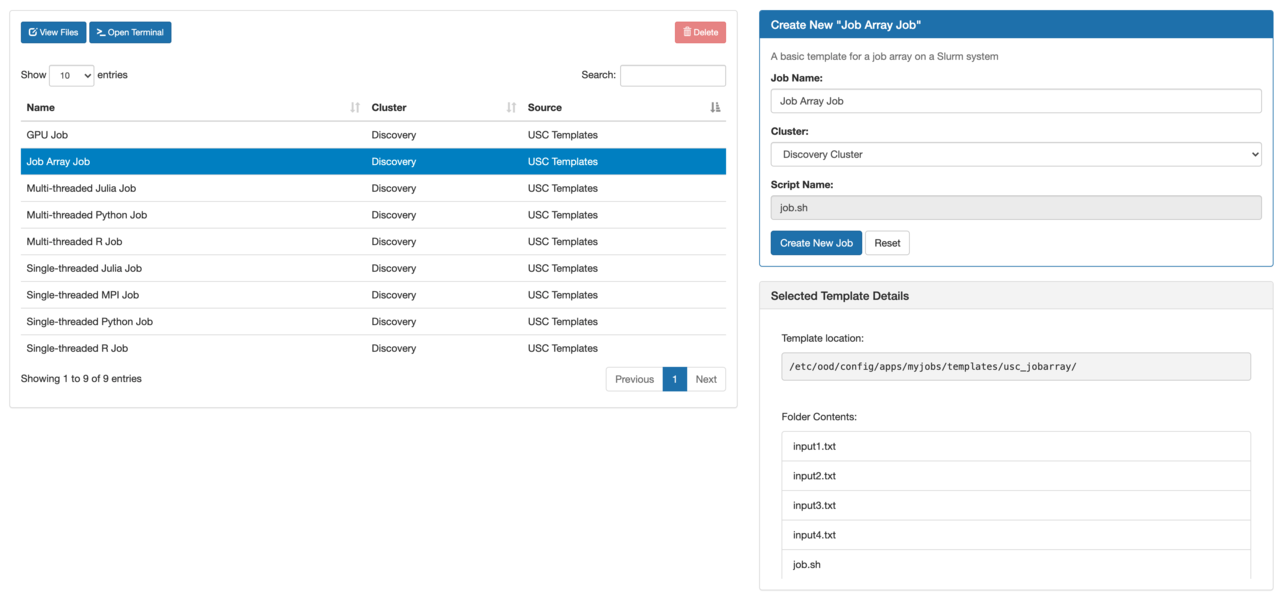
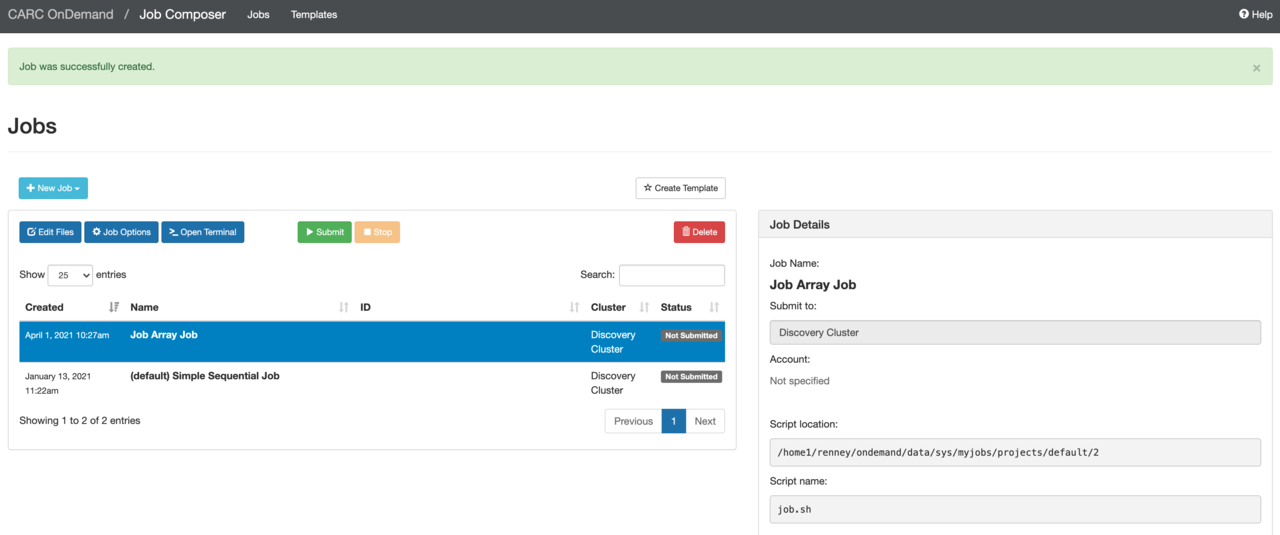
The template directory will be copied and a new job row will be added to the top of the jobs table on your Jobs page:
From the table, select the job you just created, then modify and/or add any files to this job by clicking Edit Files:
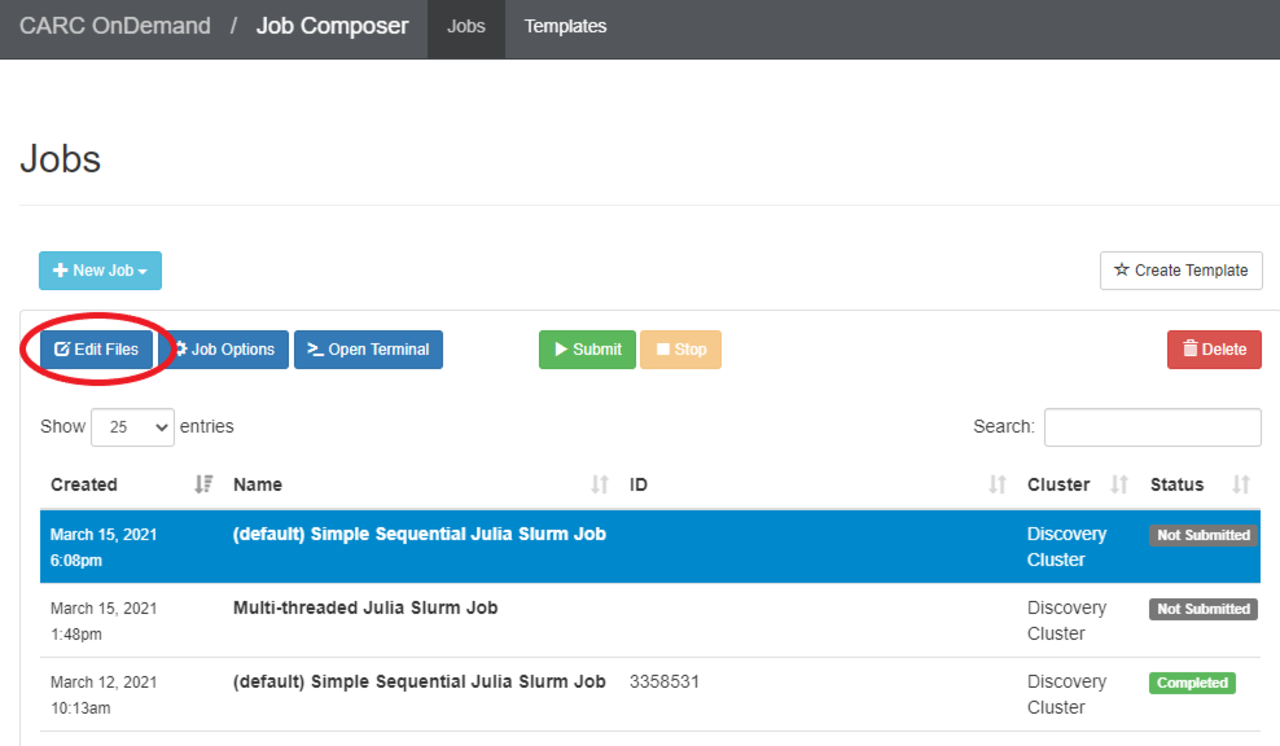
You will be taken to the File Explorer, where you can upload any files required for your job. See the Files section of this user guide above for instructions on uploading files.
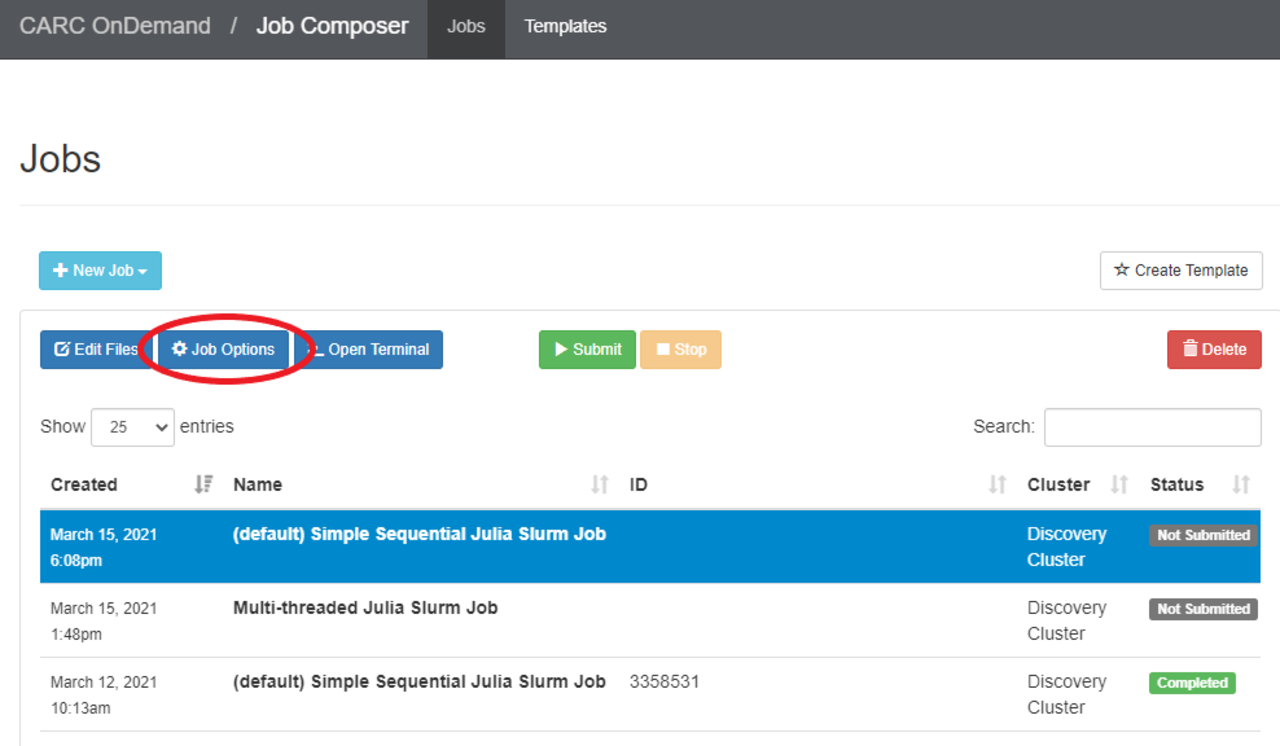
If you need to make changes to a job’s settings, select the job and click Job Options:
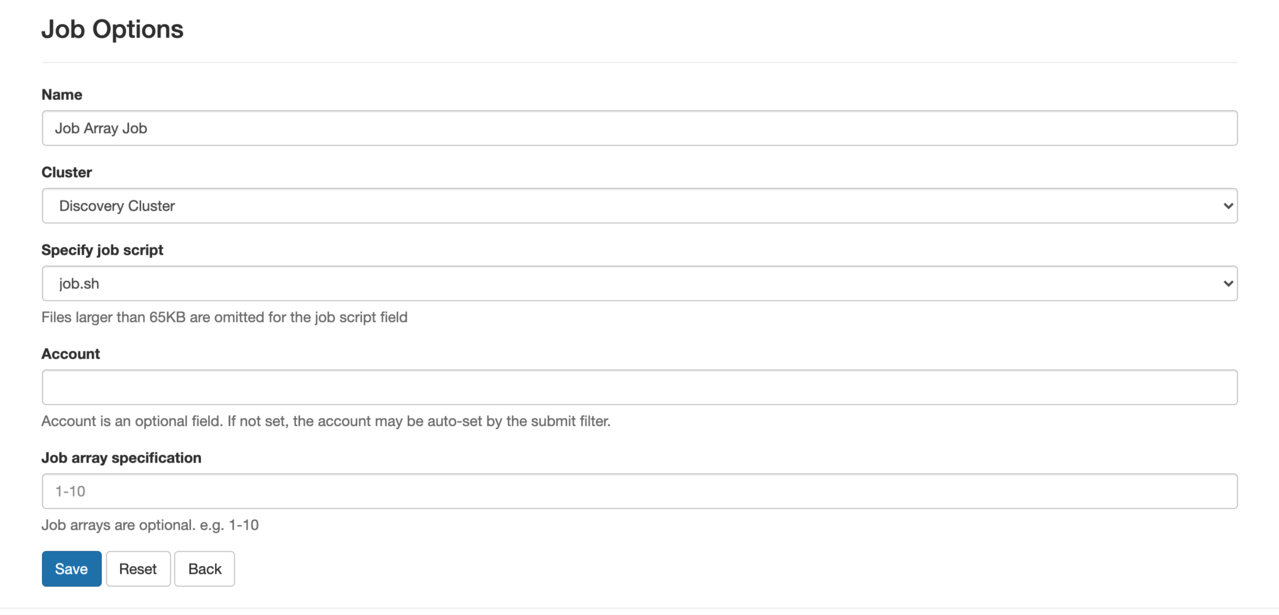
Here, you can change the job name, cluster, job script, project account, or job array specification:
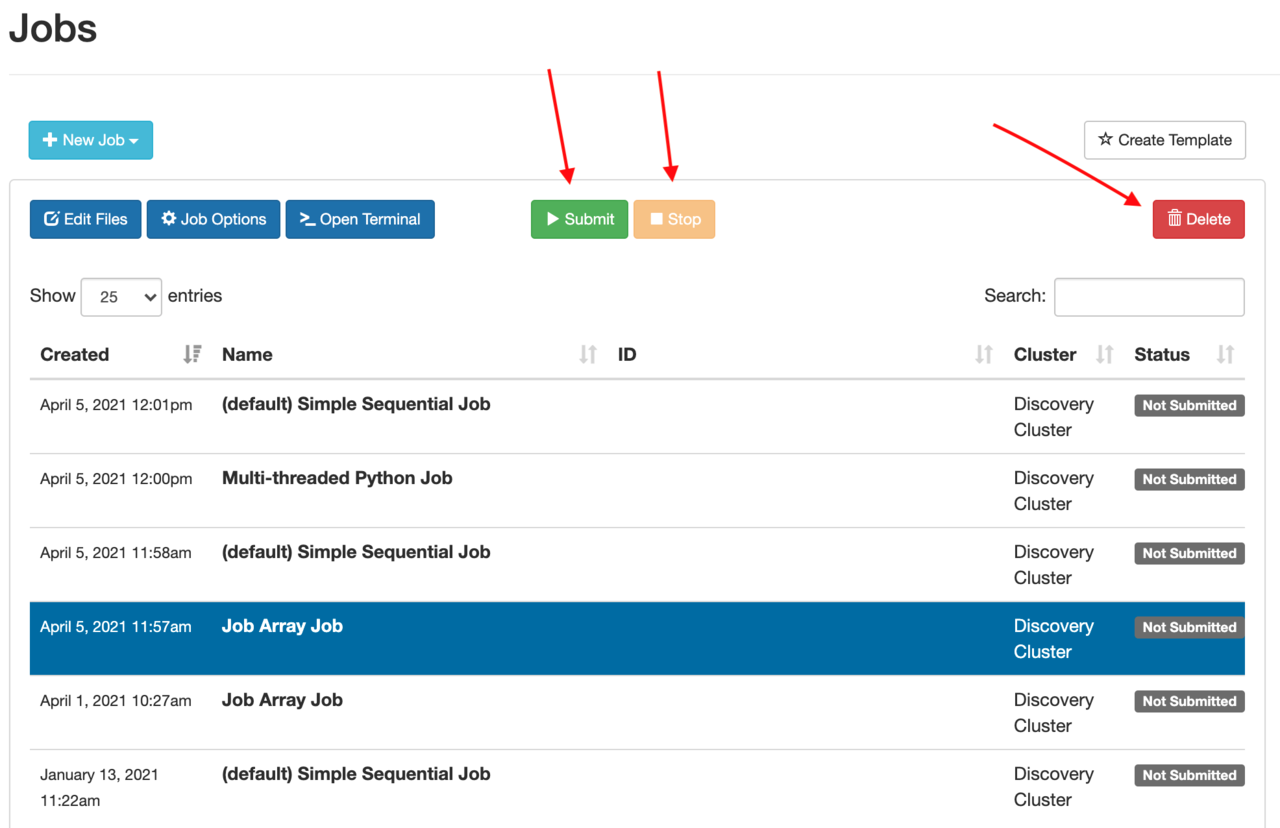
After you’ve created your job, added files, and changed any settings as necessary, you can submit the job using the green Submit button from the Jobs page. You can also similarly use the yellow Stop button to stop a running job, or the red Delete button to delete a job from your list:
You can also monitor the job status on the Jobs page:
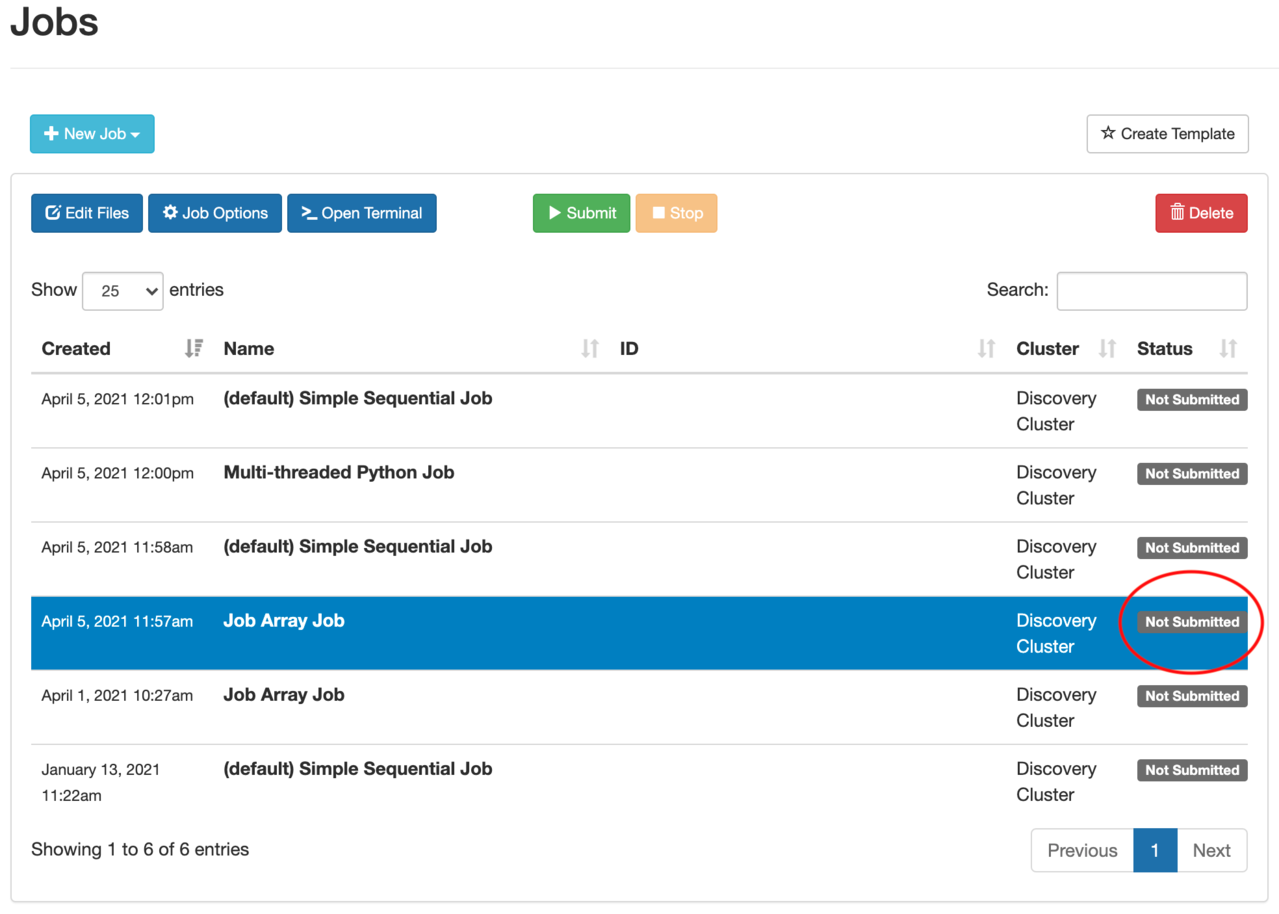
Currently, you must reload the page to see job status changes.